Editing Pinball Cabinet Artwork with Vector Software
This article was originally posted on PinballRehab.com.
Reproduced with permission from terryb.
Written by terryb
Once you’ve copied a pinball graphic using a camera or scanner (see references for how to do this) it’s time to create a final graphic for publishing. While some will skip the editing step, you are going to get a much more professional looking product with a little editing work.
For these examples I’m using CorelDraw X6. It has a very slick tool called PowerTRACE for easily converting bitmap images into vector files. Other vector problems like Adobe Illustrator have similar tools or there are free online services that will convert a bitmap graphic to vector. You can also manually trace the image, which will give a more accurate representation.
For more info, see Restoring Cabinet Graphics – Overview, which covers the different types of pinball cabinet graphics and provides an overview of the restoration process. Links are then provided to individual articles (like this one) that cover each step of the process. All of the detailed articles are also included in the Related Articles at the bottom of this page.
Bitmap or Vector Graphics
Whether you use a bitmap or a vector graphics editing program depends on your final objective and to a lesser degree your personal preferences.
If you’re sending the final graphic out to a shop to have a stencil or silkscreen made you will need a vector file. If you are going to print out the graphic and then hand cut a stencil then you can use a bitmap or vector file. For creating decals you can use either a bitmap or vector file.

While vector software tends to be more expensive and has a higher learning curve, it is much faster than doing the same job with bitmap software. See this article for more info on Editing Graphics with Bitmap Software.
Some editing like merging images or adjusting colors is often easier to do in a bitmap, or raster, program and then imported into your vector program.
It is beyond the scope of this article to cover every aspect of vector graphics editing but rather I will focus on using PowerTRACE and provide a few tips on manually tracing an image (see video at bottom).
Anti-Aliasing
One of the inherent issues with a camera or scanner image is that it will be anti-aliased. This is the blurring of the transition where two colors come together. Pinball graphics are typically made with a stencil or silkscreen, which provides a well defined border between colors.
So while editing the image we need to remove the anti-aliasing to create a more original look. This issue will be taken care of by using vector software, but if you then save to a JPEG once you’re done the anti-aliasing will return. If you must go back to a bitmap file, TIFF is the best choice.
PowerTRACE
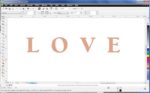
For my example I’ve scanned the front cabinet of a Bram Stokers Dracula. I intend to make a a decal to replace the very faded “Love Never Dies” but you could also create a stencil and spray paint the words.
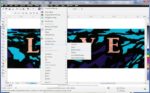
 The first step is to create a new image in CorelDRAW that is the same size as the image you will be importing. Then go to File -> Import and select the scan or photo image you’ll be working with. Once you’ve done that go to Bitmap -> Outline Trace -> Detailed Logo or High Quality Image (see Image 1).
Note: There are several other options under Outline Trace, but I find Detailed Logo is best for stencils or silkscreens and High Quality Image is best for decals (of course this also depends on the complexity of your graphic). You can always change this selection after the PowerTRACE window comes up and see which selection works best for your image.
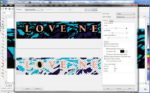
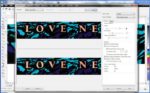
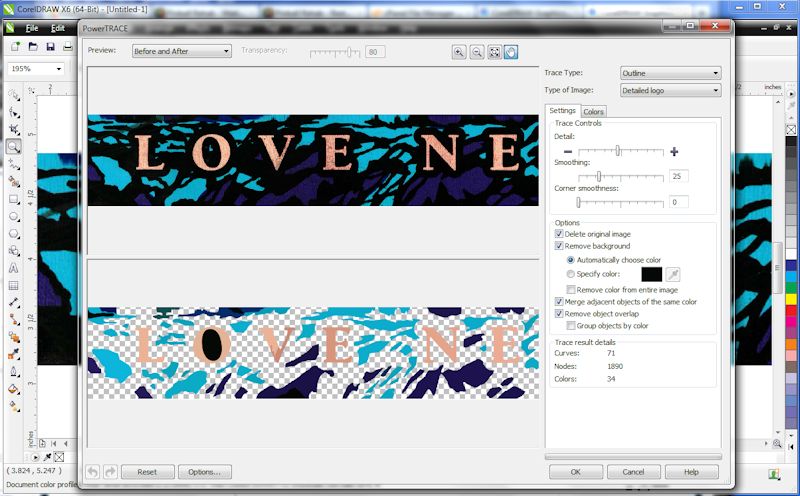 A new screen will pop up with before and after views of the image and several adjustments you can use to tweak the result (see Image 2). Although the default settings are usually pretty good you can adjust the Trace Controls (Detail, Smoothing and Corner Smoothing) as needed. The Options don’t need to be changed.
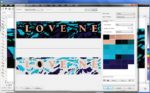
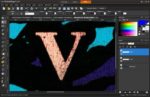
 There is also a tab for colors (see Image 3) where you can delete and merge colors. If you click on one or more of the colors the view pane will show where the colors are in the image (in Image 3 I’ve selected all of the red colors).
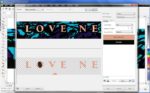
 This process will save you time during editing since you can quickly remove extraneous parts of the image and combine the colors for the area you are concerned with. You can see the end result in Image 4 (for some reason if I deleted that last black color I lost the letters I was trying to save.
 At this point you can tweak the Trace Controls and see if you can get a better image. In my case I wasn’t able to get it much better than where I started, but sometimes these adjustments can make a pretty big difference.
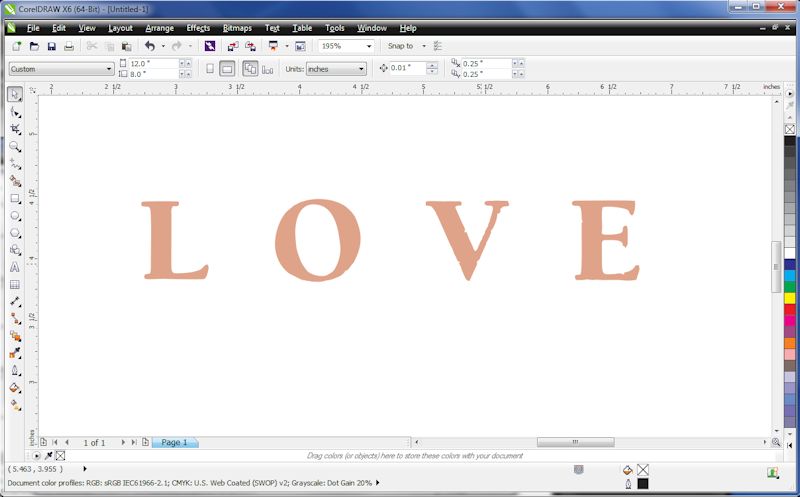
Click on OK and you’re all set. In Image 5 you can see the results after I cleaned up the last little bit of unwanted graphics.
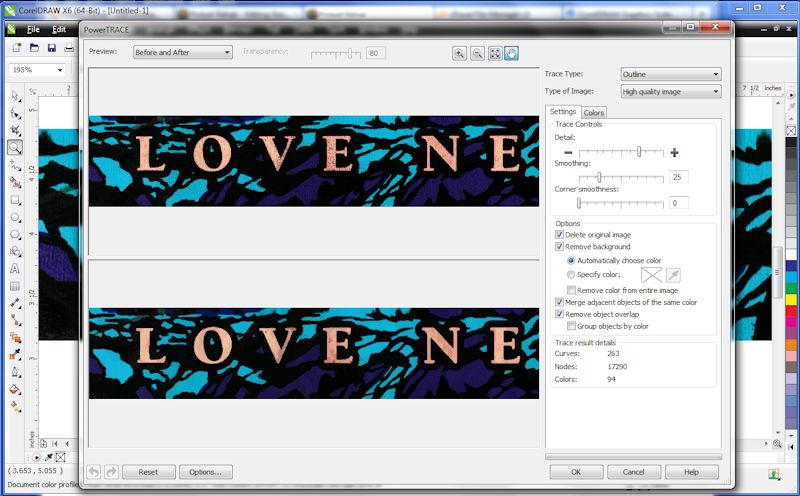 Just as a comparison, you can see the same graphic in Image 8 where I’ve set the Outline Trace to High Quality Image rather than Detailed Logo. As mentioned earlier this setting will typically work better when creating decals.
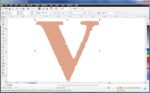
 In Image 6 I’ve zoomed in on the V and you can see that some cleanup is still required. If you look at the zoomed in V in the original scan (Image 7) you can see the software did an excellent job considering what it had to work with.
 At this point it’s just an issue of using the vector software to finish cleaning up the graphic, which is fairly quick if you’re good with vector software. Some people prefer to do this with two layers. The bottom layer would include the original scan and the top layer the vector image we just created with an opacity of 50%. This allows you to view the original image while adjusting the vector drawing.
See Image 9 for the final graphics that I made decals from.
 Here’s a more detailed PowerTRACE Tutorial from Corel including advanced options like using a bitmap program to cleanup the image before creating a vector file. I have never found this process to improve the result much, but with some graphics it might. So if you’re having trouble give it a try.
Manual Tracing
Most professionals will use manual tracing rather than an automatic tracing system. Just pull the graphic into your program and then add a raster layer on top with 50% opacity. Then use the “Pen Tool” to draw lines and curves to match the original image. This is explained in more detail in the video below.
While the person in the video is using Adobe Illustrator, the general concept is the same for any vector software program. He also uses a lot of hot keys (for example, pressing ALT while clicking the mouse), don’t let that confuse you, it’s just a faster way of working than using the menus to switch between lines and curves.
Comments
Comments, including suggestions, improvements, errors, etc. are welcome (see below).
If you have a specific question about your game that does not directly apply to this page, please see our FAQ section.