A. Clearing the Playfield
1. Supplies Needed
2. Preparation
3. Clearing the Playfield
4. Removing the Ramps
5. Removing the Pop Bumpers
– Removing the Sling Shots
B. Cleaning the Playfield
6. Cleaning the Playfield
C. Repairing the Playfield (optional)
7. Playfield Repair
8. Fixing Inserts
9. Sealing Your Work
C. Rebuilding and Adjusting
10. Rebuilding the Mechanicals
11. Switches and Reassembly
12. Final Testing
This is a multipart series on how anyone can do a complete overhaul of your pinball machine and make it work like new.
Prior to starting on this page, be sure to read the Supplies Needed page.
Note that not all sections may be necessary with all playfields. For example, if there are not any problems with the inserts, you can skip that section. If not repairing the playfield, the touchup and sealing sections (7, 8, & 9) can be skipped.
Pinball playfields get gunked up with old wax, rubber ring dirt (especially if black rubber rings are used) and all sorts of dust. It is important to clean periodically to keep this grit from wearing out your playfield.
Determine the Finish
Later pinball playfields, starting sometime around 1990, used an especially hard finish. Diamond Plate is one name used by Williams on Bally and Williams pinball machines. That made these playfields especially durable. ‘Auto Clear’ is another name for a modern durable finish.
Earlier pinball machines had lacquer finishes. These do not protect as well. They also tend to ‘melt’ into the paint surface. Plus they yellow with time.
The surface determines what you should and should not use to clean. Modern hard finishes almost never should use a highly abrasive cleaner like Magic Erasure or Novus 3. With a new game, use only naphtha or isopropyl alcohol to remove the grime. On older, more worn games, generally, nothing more abrasive than Novus 2 should be used.
The two common alcohols, isopropyl and ethyl, might react with some surfaces. That is why we recommend Novus 2, which is water based. Isopropyl is a quick way to remove old wax. If you want to try this, test in a hidden area, such as under the metal apron. Wipe on and off with a rag, then inspect to see if the finish softens or clouds. If it does not, you may be able to use alcohol. We do not use ethyl alcohol. We only use isopropyl alcohol and generally, not on the wood surfaces.
Older finishes can have some surface damage. At times, it maybe possible to remove the lightest damage with a Magic Erasure. But that means much of the finish is being removed and it frequently needs to be replaced. If you use Magic Erasure and isopropyl alcohol, expect to have to apply a new clear coat later.
A word about ‘abrasives’: Using anything that has an abrasive in it should not be used on newer modern playfields (clear coated). The only thing that should be used to clean grime is naphtha (read the precautions about ventilation and other hazards) or isopropyl alcohol. On older machines, and this includes many classic Bally / Williams WPC games with ‘Diamond Coat’, the grime may be worn down into the surface and Novus 2 might be the only thing that will work.
Note that Novus 2 is a ‘mild’ abrasive. Since it is mildly abrasive, it can be used on a modern playfield, but in moderation and only very carefully. Excessive use of Novus 2 will result in damage to the clear coat. When cleaning a modern playfield, it is not necessary nor desired to remove any of the clear coat.
| Non-abrasive | Abrasive (least to most) |
| Naphtha (read cautions) | Novus 2 |
| Isopropyl alcohol (flammable) | Novus 3 |
| Novus 1 | Magic Erasure |
A word about water: Several cleaners have water in them including Novus 2, and Isopropyl alcohol (except anhydrous 100% Isopropyl alcohol). Putting a cleaner that contains water will not hurt the playfield as long as you don’t leaving it sitting on the playfield. The playfield is painted and sealed and the water will not contact the wood. Water should be kept away from exposed or unsealed wood.
A word about ‘rubbing alcohol’: Rubbing alcohol is generally 70% alcohol. But ‘rubbing alcohol’ may also contain oils such as lanolin. We recommend against purchasing ‘rubbing alcohol’.
Light Cleaning
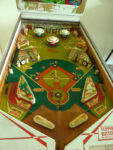
A playfield can look filthy, but be easily cleaned. The playfield to the right may look like a lost cause, but a bit of naphtha, Isopropyl alcohol, or perhaps Novus 2 and some elbow grease and it will look like new.
We usually start with a quick vacuum, just to suck up the loose dirt out of the way. Sometimes we follow this with some compressed air to blow remaining stuff off.
It maybe worthwhile to wipe down the playfield with naphtha to remove old wax and make your job easier (read cautions on that can!). Then pull out the microfiber cloth and Novus 2 and start wiping away.

In a little while, you will get an idea of what can be accomplished. In the second photo, a bit of cleaning with Novus and it looks almost as good as new.
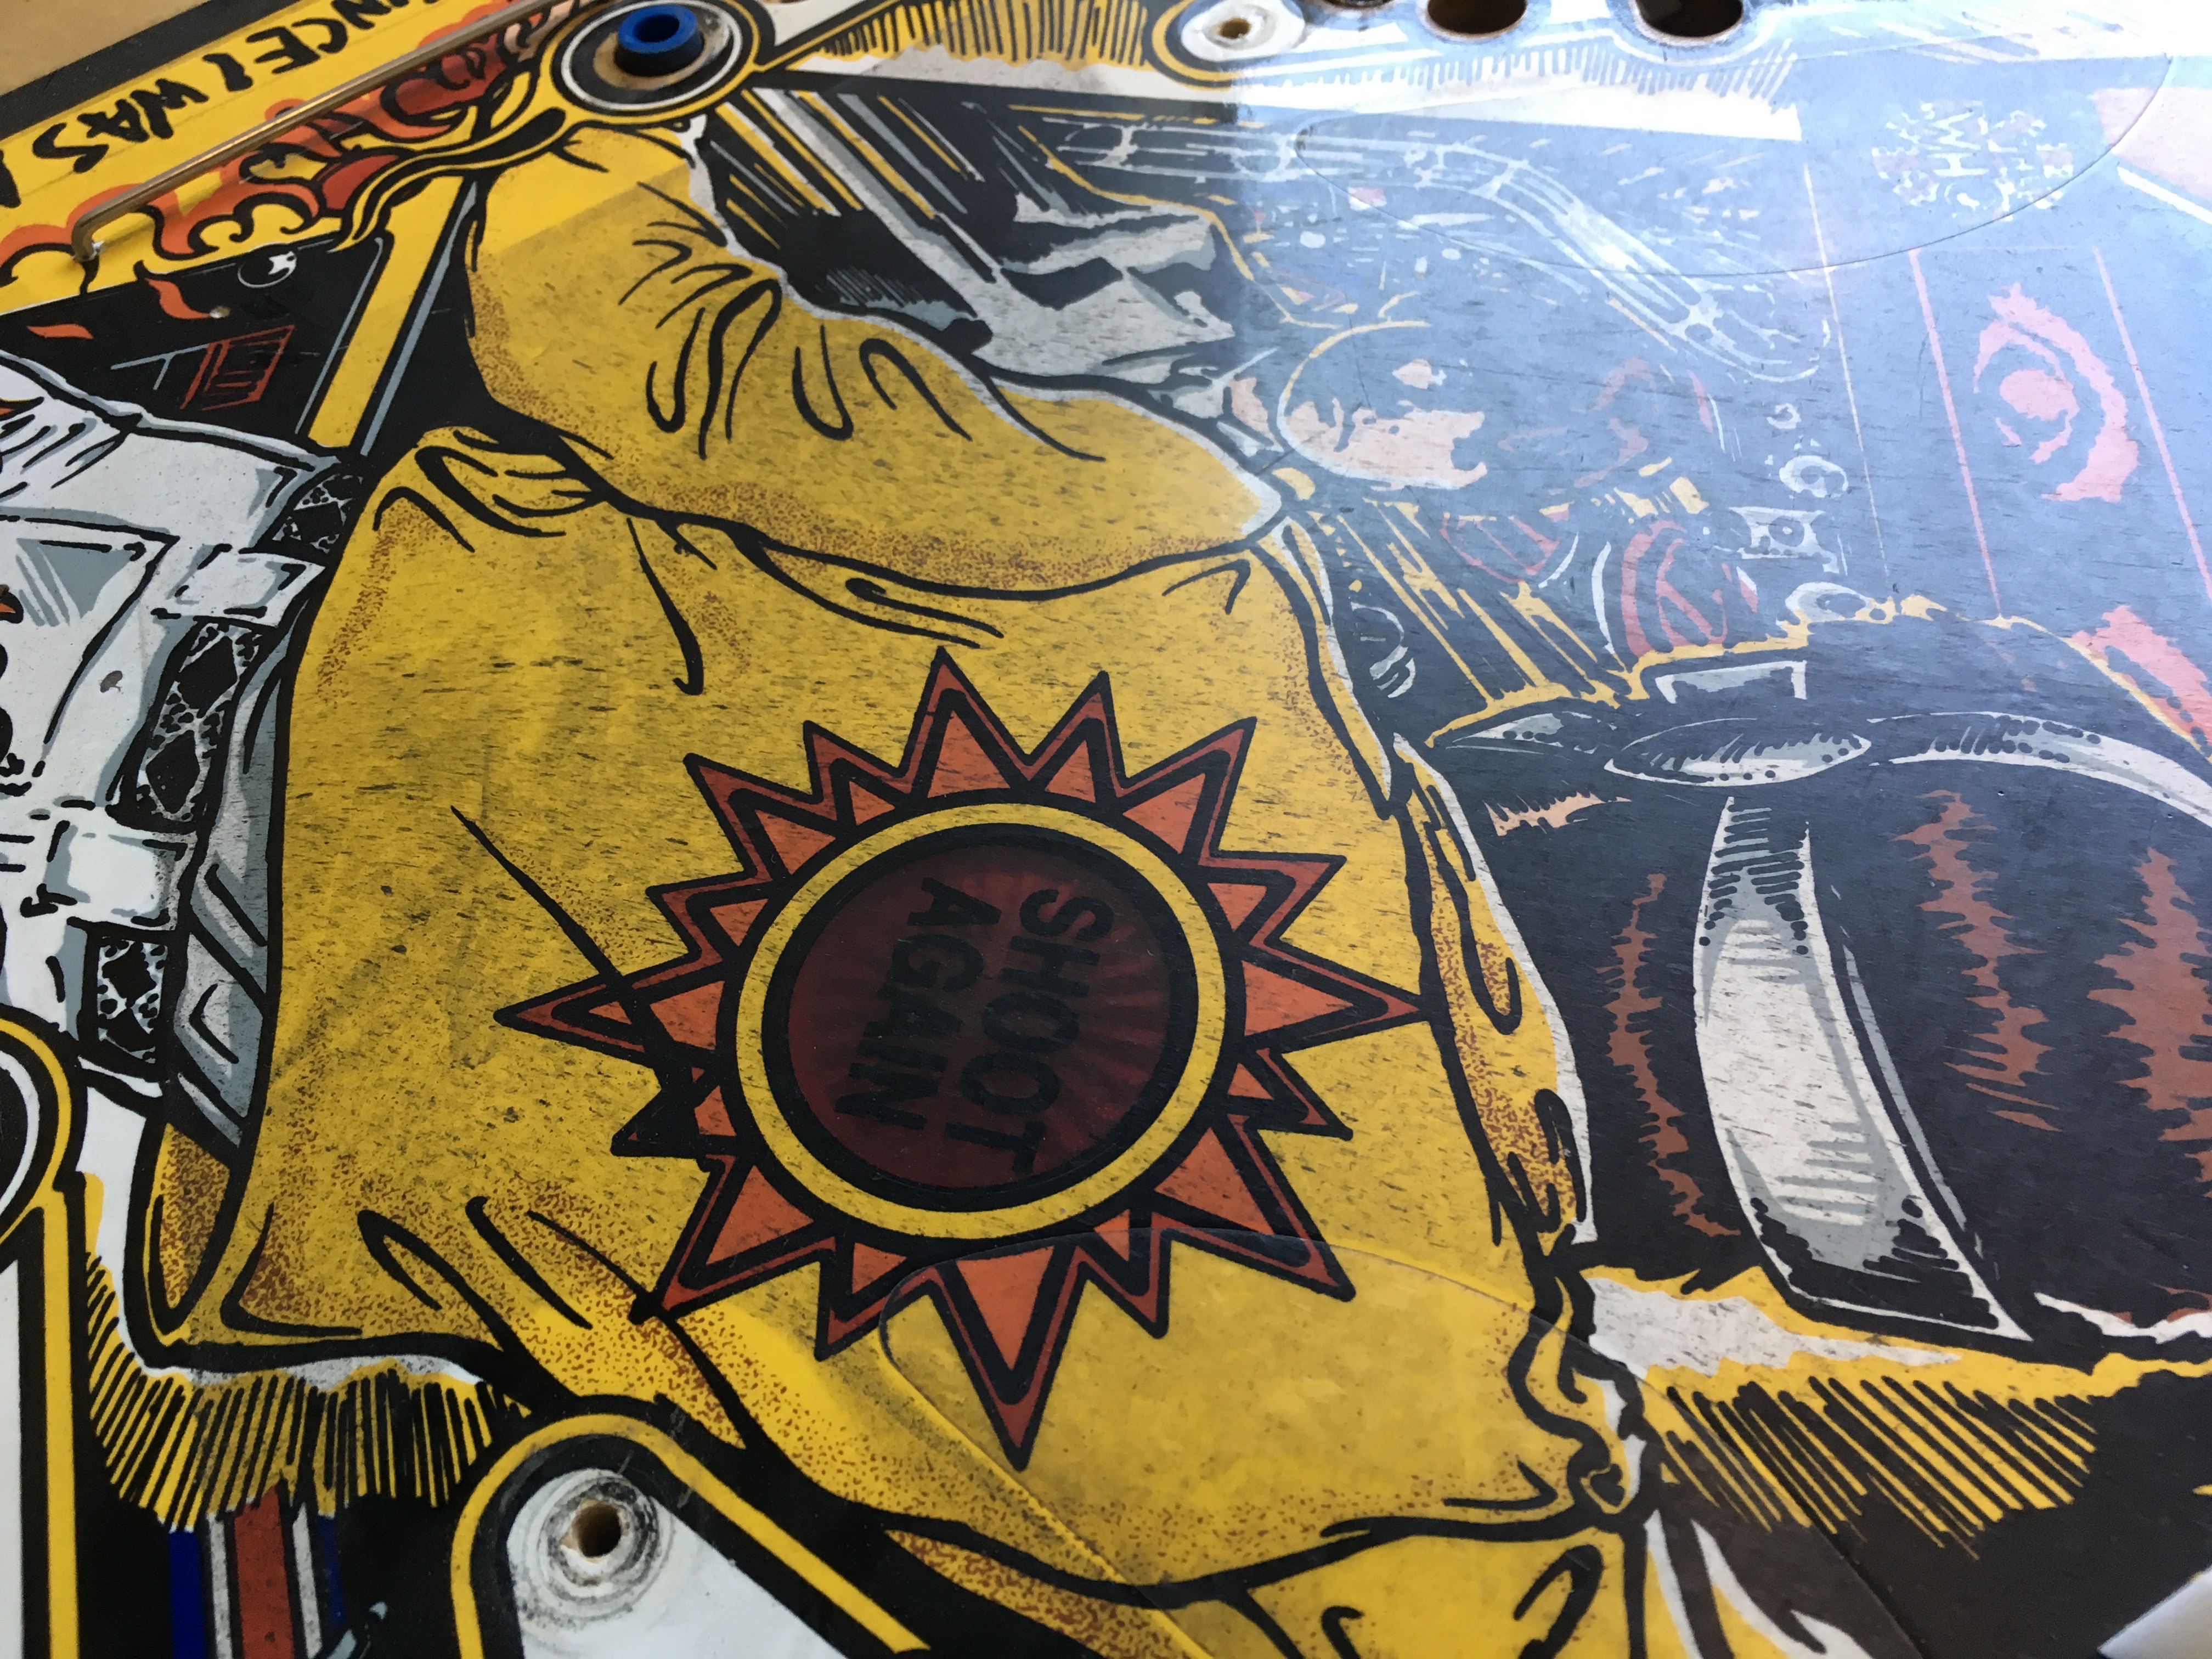
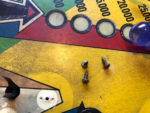
Ball lanes and areas around the pop bumpers can get to be especially dirty and can require special attention.
In the photo gallery below, several different dirt issues can be seen.

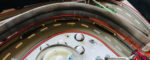

Photo 3 shows the filth around the pop bumper – one of the reasons to fully remove the pop. Photo 4 shows an upper lane in a Getaway, photo 5 is the upper playfield in a Whitewater, and photo 6 looks to be a Hurricane. All three of these games are from the 1990’s and have a hard Diamond Plate finish on the playfield. These can usually be cleaned up by using naphtha, or isopropyl alcohol and a microfiber cloth. Novus 2 could be carefully used in moderation.
Unfortunately, in photo 5, the grit wore through the finish and into the paint. Usually, that cannot be restored without painting or replacing with an overlay – or a new playfield.
Photo 7 is dirty metal, perhaps part of a ramp. These are usually the easiest of all to clean. Either wipe with a damp rag, a little bit of naphtha, isopropyl alcohol, or some Novus 2. Restoring scratched metal and plastic ramps will be covered later.
Heavy Duty Cleaning
When wear and dirty have worn through the outer coating, then more work is needed. For someone not wanting a challenge, this maybe a good time to stop. Just clean off the wax and grit as described above, wax, and you are done.
A poorly done cleaning job with some touchup will look worse than a worn playfield. These pinball machines are decades old and were only intended to last a few years. Usually, it is smart to stop here, put it back together and enjoy playing.
Trudging Ahead
For those who want to try more cleaning, the next step is bordering on restoration. It is good to try this the first time on a game you don’t want. Or even better, attend a pinball show and buy a cheap worn out playfield and practice.
Ball Swirls
The curse of games too old to have a hard finish are ball swirls. These are curly lines that appear over the playfield and are caused by a combination of old, chipped pinballs and dirt. Curing this is tricky. If the swirls are not too deep, it maybe possible to remove a layer of paint and get it looking much better. But removing that layer of paint also removes the outer protective layer – or what is left of it. For older games, that layer is usually lacquer. Once you cut through the protective layer, you will have to re-apply clear.
Lacquer binds with the outer part of the paint. It also yellows. Removing the lacquer may make the paint suddenly look much brighter and vibrant. The yellowed lighter areas will look white. Dull colors will pop. But once that protective layer is removed, it will have to be replaced / restored. Wax will not be enough.
And if you remove too much of the paint, you will see wood. Ball swirls look better than bare wood.


Using Magic Erasure
Magic Erasure is abrasive and will remove the protective outer layer. It is less abrasive than sandpaper, but it does the same thing. It is far more abrasive than Novus 2. Yet, done properly, ball swirls can, sometimes be removed.
| Note: Only proceed with Magic Erasure if you are prepared to have to re-seal the playfield. Carefully read this link before you use Magic Erasure. |
Use Magic Erasure wetted with isopropyl alcohol. That will remove a layer covering the playfield. If you are lucky, the ball swirls will be removed without removing all of the finish.
Magic Erasure will leave a white coating. Take that off as soon as you can. Usually a microfiber cloth with isopropyl alcohol will remove the powder. If you leave the white powder there for a while, it may become more difficult to remove.
If the swirls remain after rubbing a little bit, then it will be time for you to decide to proceed and remove the finish and some of the paint. This might remove the swirls, but then you will be obligated to replace the clear coat.
Remember, once you get down to the paint, you must seal your work when done (part 9 of this series).
Photos 8 and 9 show a Williams Grand Prix EM with severe wear and ball swirls. No amount of Magic Erasure could fix that. At this point, the owner can clean as much as possible with Novus 2, then wax and reassemble. Or they can repair the playfield. In our case, we restored this pinball machine using a combination of painting with an airbrush, and using decals. We then clear coated the playfield.

In photo 10, we had a Gorgar with ball swirls and a spot worn through to the wood. We found that Magic Erasure alone did not remove the swirls and ended up using decals to repair the detailed artwork.
In photos 11 – 13, we have an Gottlieb Play Ball. This had a layer of filth on it along with yellowed lacquer. Removing that not only removed most of the damage, but it also brightened the colors. There were a couple of spots that required small decals.
All three of these games ended up looking almost brand new, using different or a combination of techniques.
Note: If you have not used aggressive abrasives, such as Magic Erasure, nor plan on repairing wear and tear, you can skip parts 7, 8 and 9. Jump all the way to Part 10 – Rebuilding the Mechanicals.