When buying a new (to you) pinball machine, one of the first priorities maybe to replace the rubber rings.
Why Replace the Rubber Rings?
As the rubber rings age, they lose their ‘bounce’ and the game changes for the worse – it gets slower. Plus, the white ones get dirty and can sometimes break. One of the easiest way to make your game play like new again is to replace the rubber ring.
What Type of Rubber Rings to Install?
Originally, all pinball machines had white rubber rings. But operators did not like them, so manufacturers came up with a new option: black rubber rings.
We do not recommend black rubber rings because they shed the black color and the playfield gets dirty.
The photo on the right shows a Tommy Data East pinball playfield. This playfield looks trashed. But all that dark haze is black ring dirt. It can be cleaned pretty easily with Novus 2. But that black dirt gets everywhere. Just don’t do it.
There are many different rubber ring options. Best options:

1) Standard white rings – They are the least expensive. But they show dirt quickly – not such a big issue at home.
2) Silicon rubber rings – They come in a large variety of colors and can be extra bouncy – which can be good or bad.
3) Black rubber rings – They are harder than white ones, do not get dirty, but they get the playfield dirty. Not recommended.
The following are not rubber ‘rings’ but are on most games and may need to be replaced:
4) Post sleeves – Many games have posts that require sleeves. These last longer than regular rubber rings and do not need to be replaced as often. They cost only about $0.50 ea.
5) Shooter Tips – Replace it. These get worn. We have seen several games without rubber shooter tips and the metal shooter hits the metal pinball – a tragedy that must be avoided.
6) Flipper Rubber – Replace it. There are standard rubber as well as silicon.
7) Rebound Rubber – Typically located at the top (back) of a playfield – the pinball bounces off of this after the initial shot. Might not have to be replaced.
8) End of Ramp Rubber – Those games with ramps that come to an end usually have a piece of rubber to keep metal from hitting metal. Might not have to be replaced.
There are also sometimes other rubber pieces, like anti-bounce back rubber placed on the ‘backstop’ of VUK’s (vertical up kicker) and saucer holes.
Optional Items
Bulbs – Replacing the rings is going to make this a great time to replace bulbs. Maybe update to LED’s?
Novus 2 – More of the playfield will be exposed. Clean up that old wax and grit.
Wax – We usually use Carnauba Wax (not ‘Cleaning’ which has abrasives). Newer synthetic waxes are used too.
New Post Nuts – Many playfields have plastics held in place by nylon nuts. They get dirty and the threads get stripped. Buy a bunch and keep them on hand if your’s uses them. These come in colors, too.
New Plastic Posts – Many of the playfield plastic posts get cracked. Replace them.
Placing the Rubber Ring Order
 One option is to buy a ring kit. These are widely available from Marco, Pinball Resource, etc. These are quick and dirty and should have exactly what you need. Note that many of these kits do not have post sleeves (although some do), nor rebound or end of ramp rubbers. Make certain to select the type of kit desired (black, white or silicon).
It can be cheaper to make your own kit, or buy for future use. Newer games have a page with a list of what rubber parts are used and their locations. However, keep in mind that the accuracy of these manuals are spotty. If buying in bulk for future use, white rings tend to discolor in time, especially if exposed to even limited light. But buying your own allows you to choose different color rings or silicon rings that may not be available in a kit.
Replacing the Rubber Rings
Early Games – No Ramps
If you have a EM game, or early SS, your install should be easy. If you have a later game with ramps or upper playfields, this will be a fair amount of work.


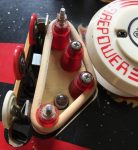


The above photos are from two early generation SS pinball machines: Eight Ball Deluxe and Firepower. Each image shows the before, then after removal of the playfield plastic.
This is pretty easy in most cases. Just remove the nuts holding the plastic in place and the rubber is sitting right there for you to replace.
Note: Of course, nothing is ever that easy. Sometimes instead of the nut coming loose, the post comes out of the playfield. You can try using a needle nosed pliers just under the plastic to hold the post in place. Otherwise, just remove everything. Then, once the post is removed, clamp onto the metal and remove the nut. Remove the rubber and reinstall the post in place. Replace the rubber. Reinstall the plastic and the nuts.
Repeat until all rubber has been replaced.
With new rubber, it maybe necessary to adjust any leaf switches that touch the rubber rings, like those in Images 2, 6 and 10.
While this is all exposed, clean the playfield using a microfiber cloth.
Games With Ramps


If your game has a series of ramps, then it will be far more challenging to change the rubber.
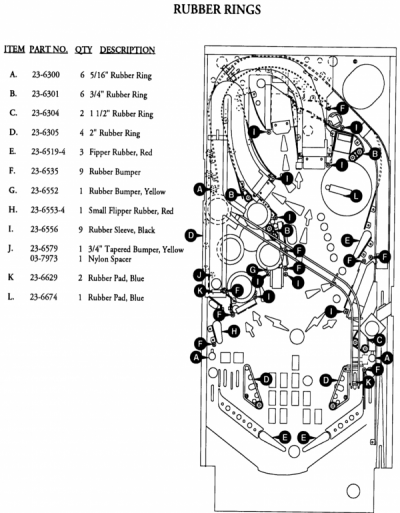
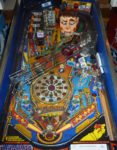
First step is to pull out your manual and find the location of the rubber. Image 19 is The Addams Family and it appears that, in order to replace the rubber rings of those circled in red, may require the removal of the ramp(s).
Doing this sort of work while the playfield is still in the cabinet is possible. But it is extremely tedious. Plus with some Bally / Williams games, the playfield swivels on a pair of pins. Since these playfield do not slide out of the machine, getting access to the back of the playfield is a literal back breaking challenge.
For games with ramps, we recommend removing the playfield from the cabinet. To do this, identify the wiring harness coming from the playfield as it travels up to the backbox. That harness will be incased in a protective usually black flexible tube to protect the wires. We then follow each set of wires to the plug and mark the plug with a red sharpie. We then label the plug to indicates where it plugs in (ex: J115). No other plugs have to be unplugged. After unplugging, we label the pins on the board with the same red sharpie. That all just helps keep us sane.
Be certain that you have unplugged every wire from that harness. Jam the harness down into the cabinet and insure that everything is loose. Remove the playfield. This almost always requires two people.
The playfield can then be setup on a table with appropriate lifts on either end of the playfield, to keep it from resting on the mechanics below the playfield.
But even better is to install your playfield on a rotisserie.
Images 17 and 18 show two common Bally / Williams WPC pins with lots of ramps. Taking them off is not difficult, but you must be methodical. Most have switches, lights or other mechanisms installed on the ramps. These will need to be unplugged under the playfield. Remove the screws and nuts holding the ramp in place and set them in your parts holder (like a muffin tin, numbered “1” to “?”).
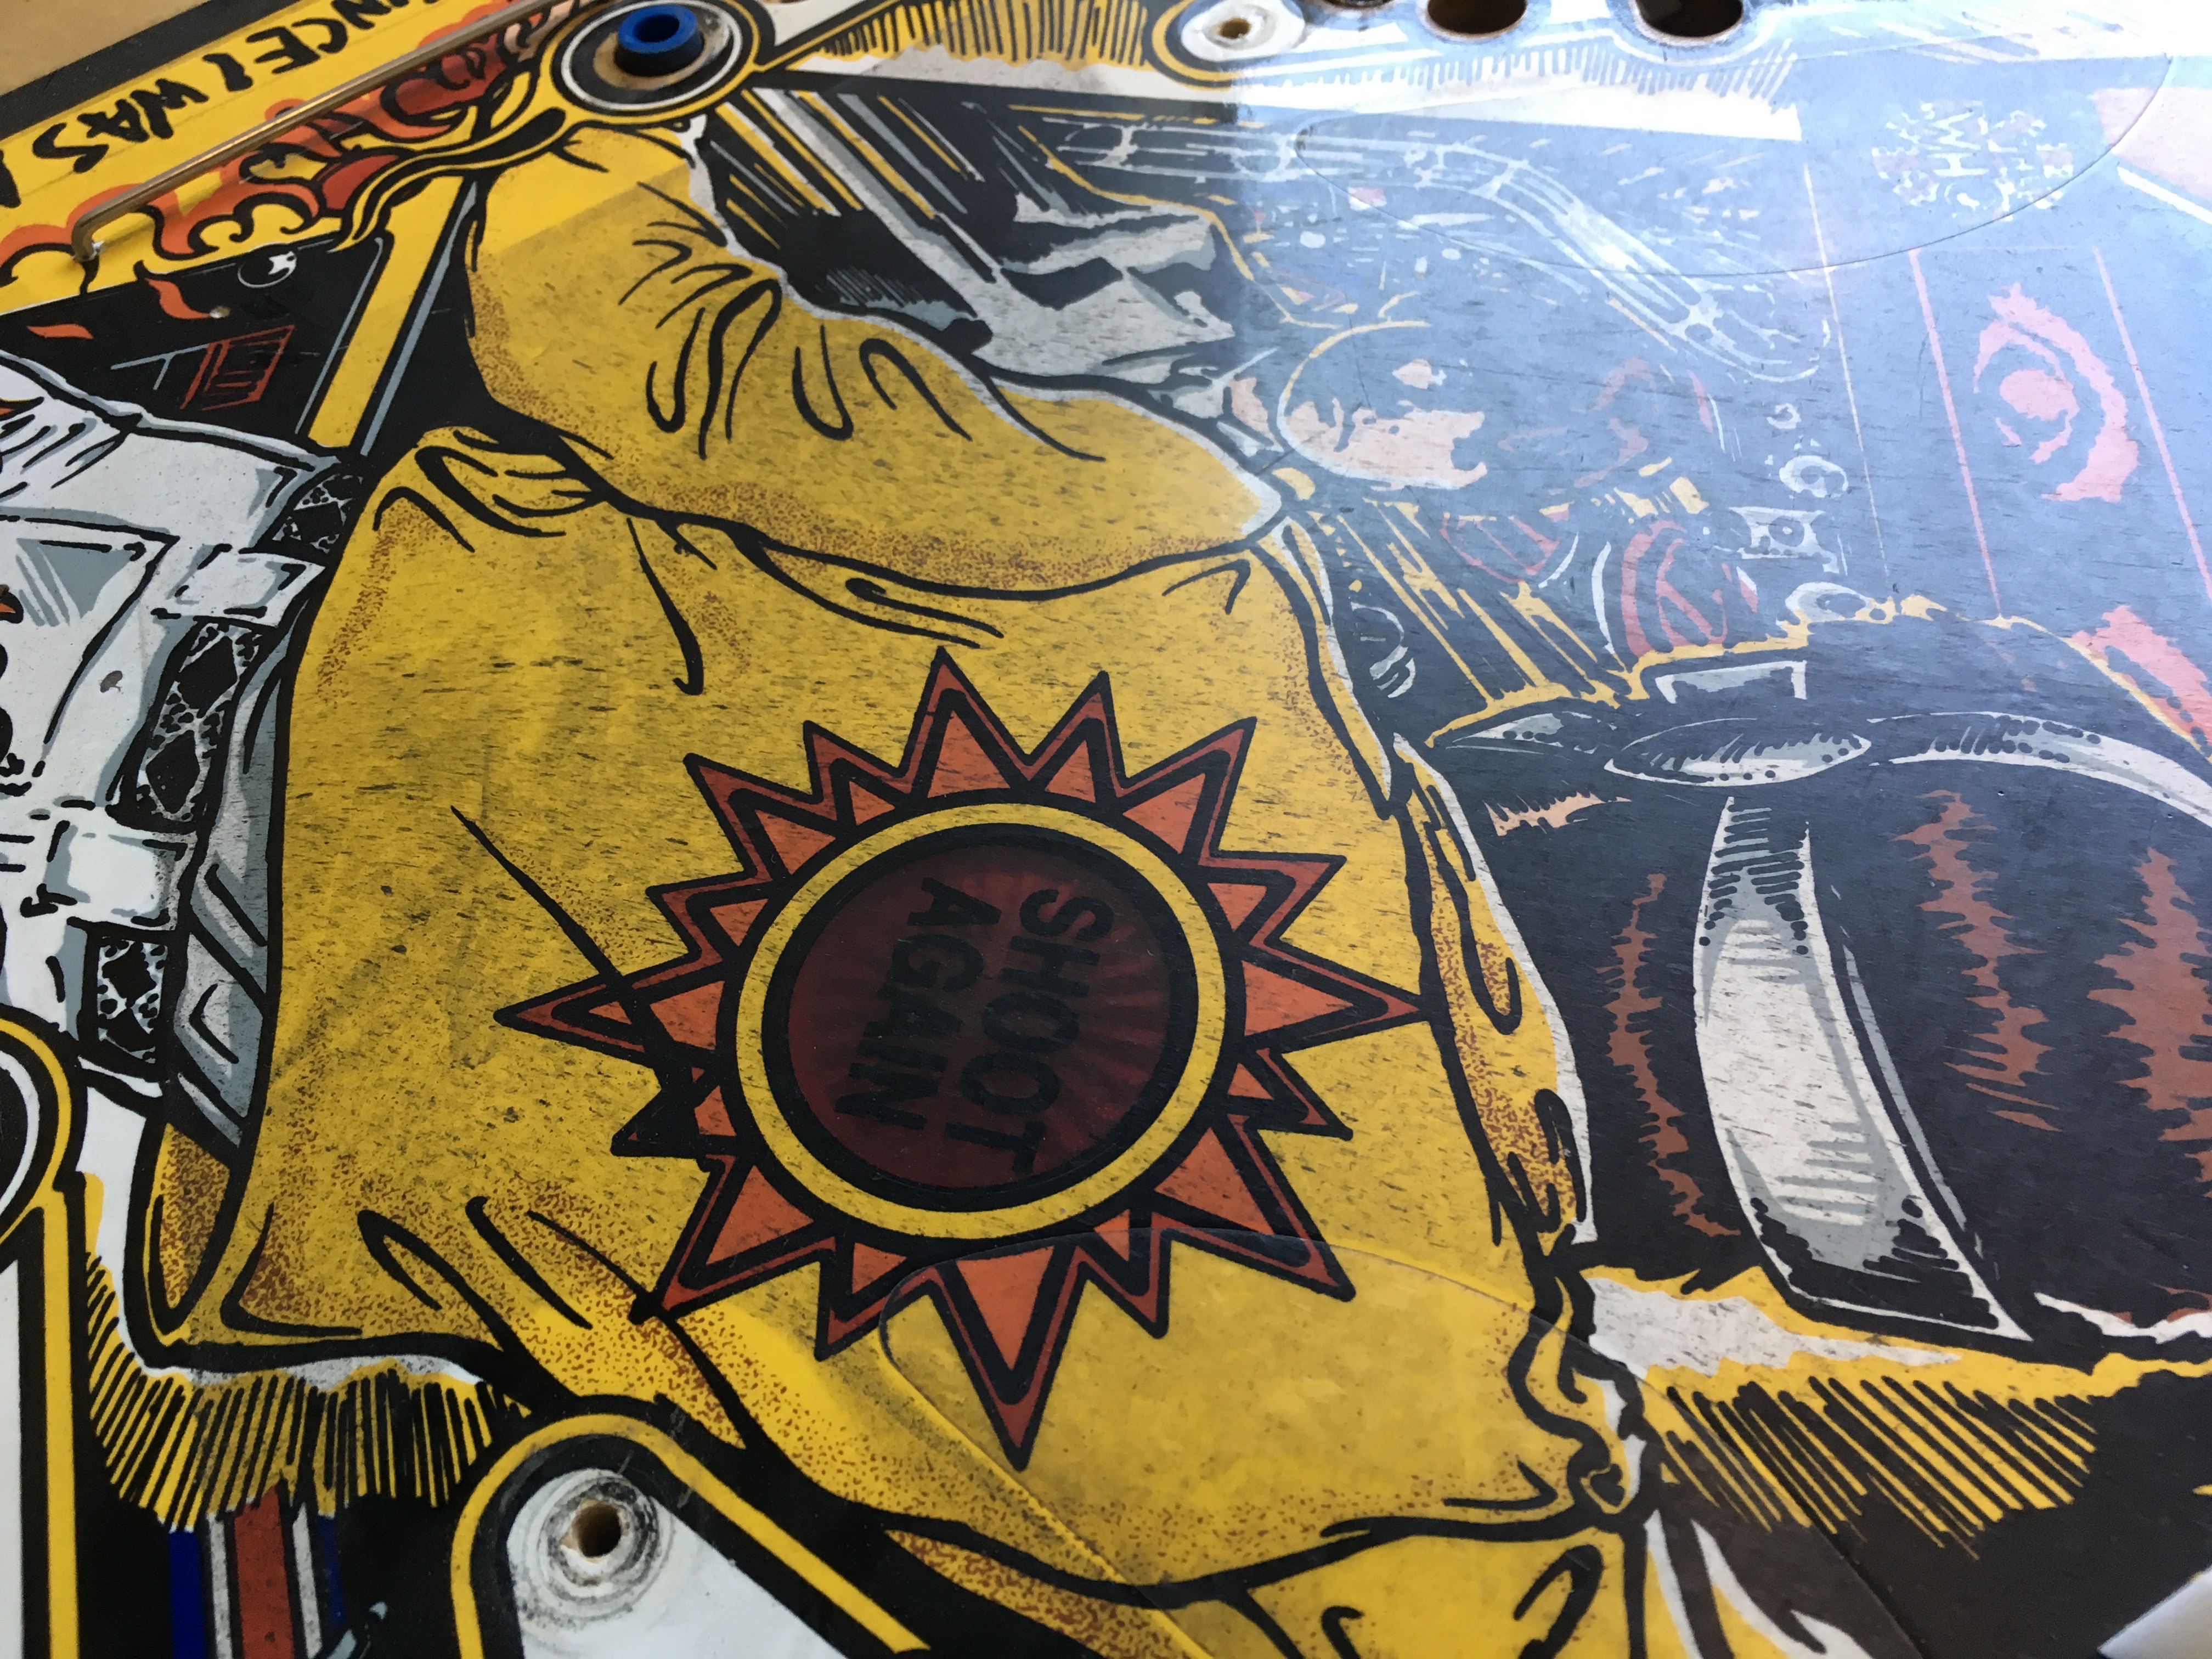
Then you will be able to get to the rubber rings like those shown in Images 13 & 14.
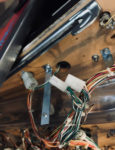
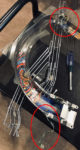
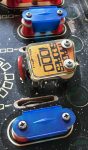
Image 20 and 21 show ramps from Williams Junkyard. Image 20 shows a couple of plugs from the ramp going down below the playfield. These need to be unplugged
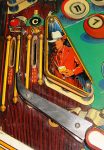
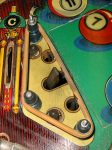
Rubber rings like those shown in Images 15 & 16 might be accessible without removing the ramps.
While this is all exposed, clean the playfield using a microfiber cloth.