Guide To Williams EM Score Reels – Cleaning and Fixing
Prior to starting, please read the introduction and parts needed page.
Understanding the Switches
Note that the open / close state of these switches changes from generation to generation of the reel. The following description is for the Williams Score Reel used in the 1970’s.
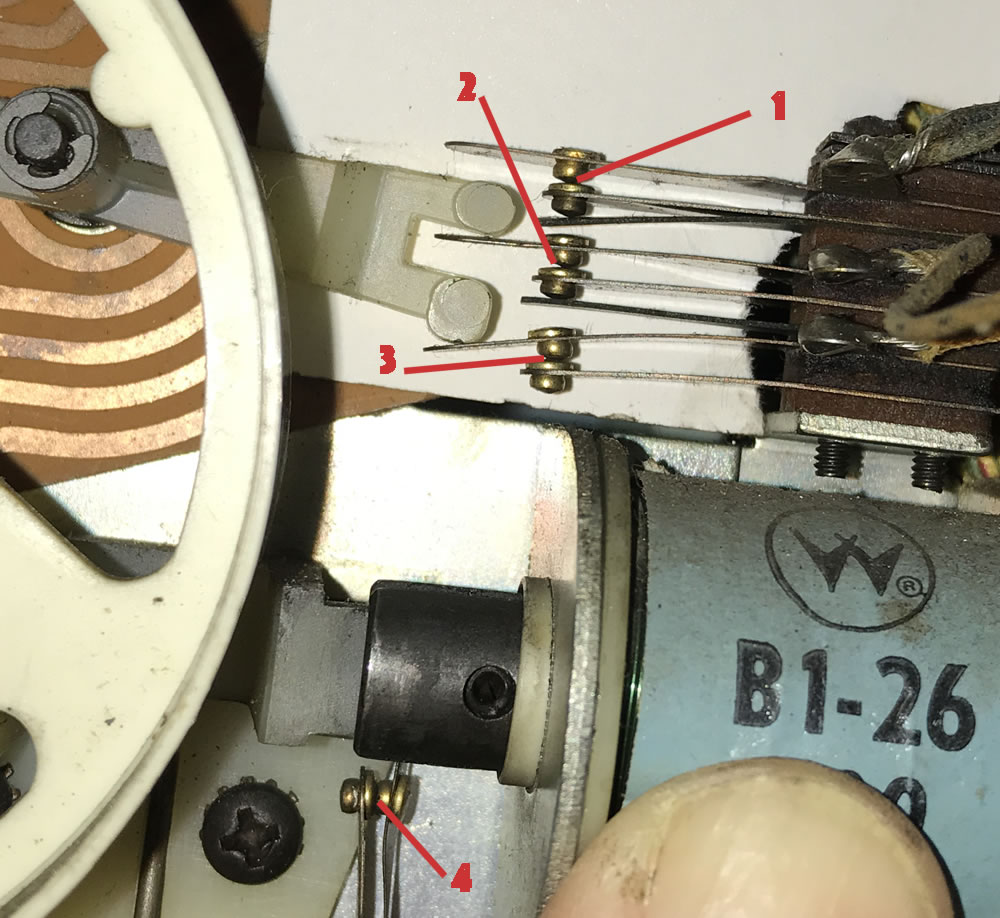
Each Williams score reel has several switches, each one crucial to the operation of the pin. Failure of any switch in any reel can prevent the machine from entering game play.
The switches 1 – 3 open and close as the score reel moves. The switches stay in the same position for numbers 1 – 8, then move on 9 and zero (see table below).
Switch #4 is a EOS (End of Stroke) switch. This makes sure that the solenoid is powered long enough to pull all the way in. When this switch opens, the power is removed from the solenoid and the number advances. If it opens too soon then there is not enough power. If it does not open at all and the solenoid stays energized and may burn.
Switch sequence for 1970’s Williams Score Reel:
| Switch | Zero | 1 – 8 | 9 |
| 1 (top) | open | closed | closed |
| 2 (middle) | open | closed | closed |
| 3 (bottom) | open | open | closed |
If the three switches do not open at zero, then the machine will not know that the score reels have reset. A side effect is that the Score Motor (in the cabinet under the playfield) will keep spinning.
If the bottom switch does not close at 9, then the next higher reel will not advance when this reel moves to zero.
Step By Step Instructions For Making a Williams Score Reel As Good As New
[For each image, click on it for a larger picture.]
Disassembly
The first time will be confusing and feel like it takes a long time. Trust me in that doing it a second time will be a lot quicker. After a while, you will be able to do this quickly and easily.
It is crucial to be organized, especially with parts. Suggestion to use a muffin tin, or at least a cup to collect parts as they are removed during disassembly and cleaning.
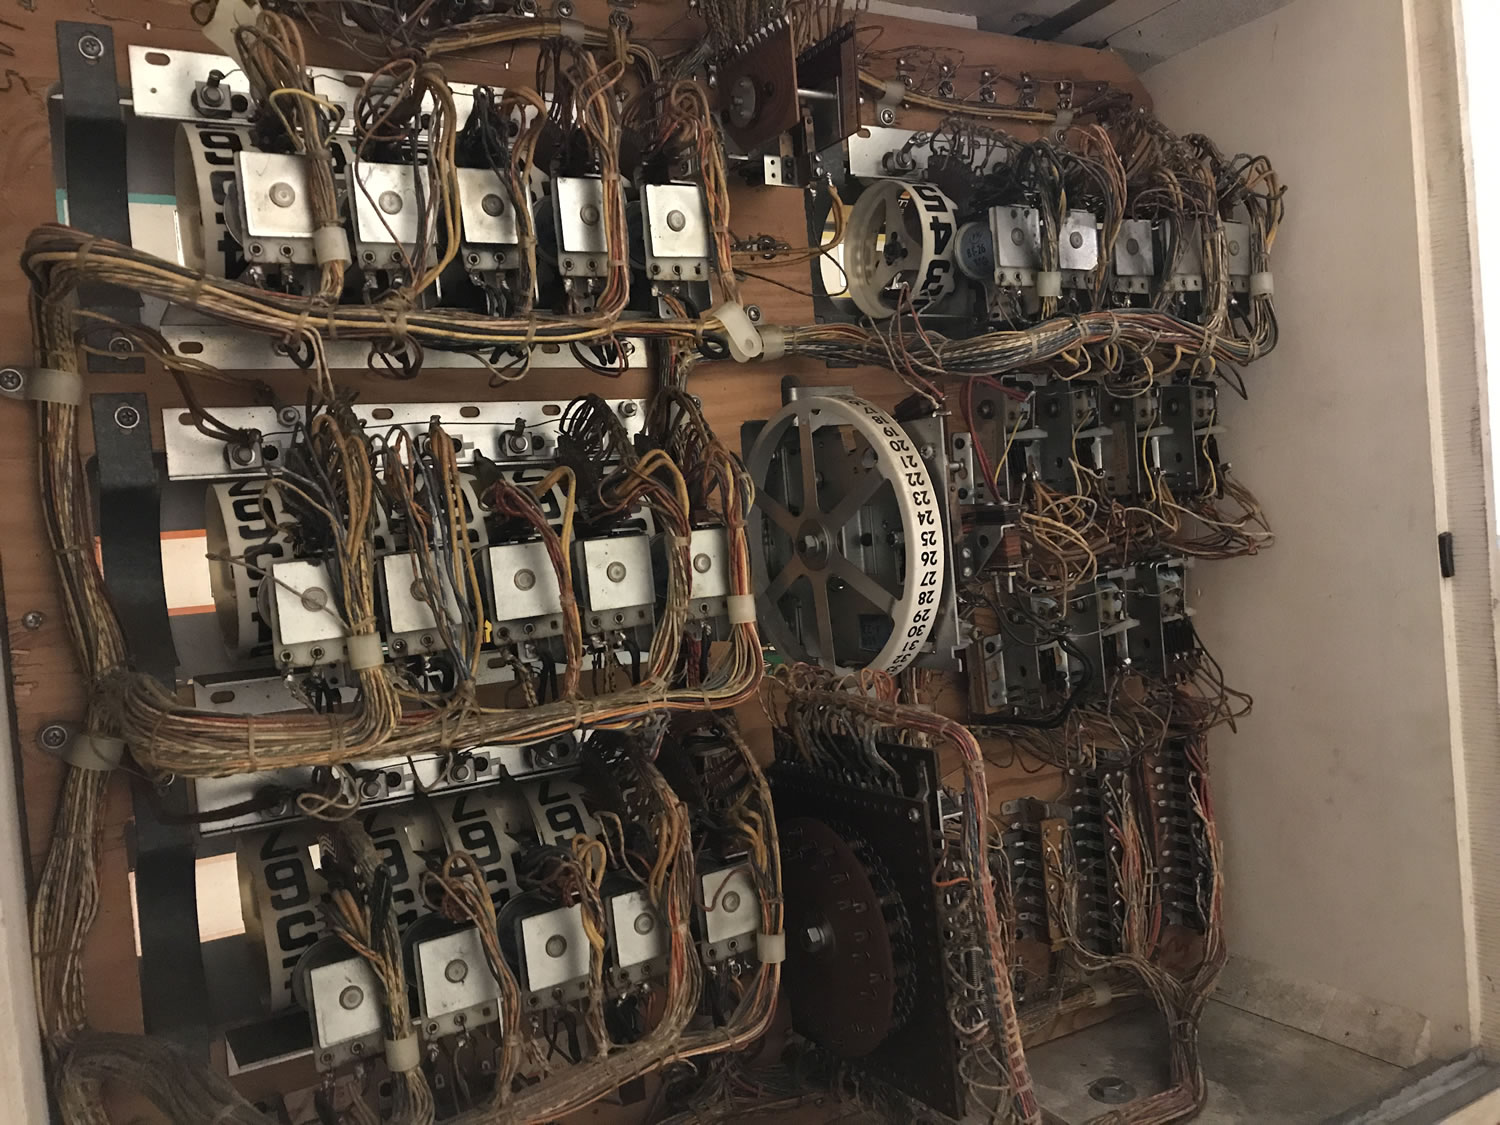

Games can have anywhere from 4 (single player) to 20 reels. All will have to be cleaned in order to insure proper operation of the pinball machine.
1) Remove the first score reel from the cage. Each reel is ‘locked’ in place by a stiff metal lock wire at the bottom of the cage. Push to the side and slide out the reel and let it hang by the wires.
 2) Using a sharpie, place a mark next to the screw nearest the zero position. Loosen and remove the three screws holding the reel in position and carefully store the screws. While removing the reel, note the screw hole on the wheel underneath next to your sharpie mark. Also mark that wheel. This is so the numbered wheel goes back into the same position.

Store the numbered reel off to the side.
 3) Remove and store the two springs. Notice that the one spring is slightly longer than the other. These will have to be positioned back in exactly the same positions.
 4) Note the plastic piece towards the top held in place by two screws. This also holds in the metal wire that locks the score reel in place. Remove those two screws, the plastic piece and the wire. Note the way the wire fits partially behind the plastic piece while the two screws hold it in place.
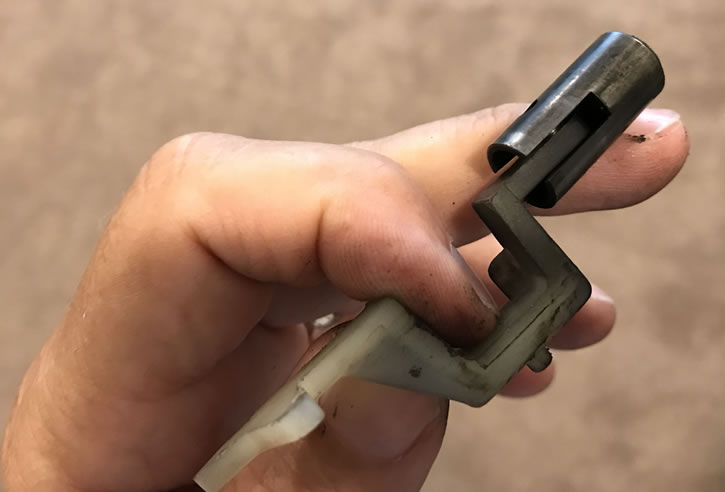 5) Remove the plunger and set it aside. That will need to be cleaned.
 6) Remove the center gear wheel and set it aside. Note that the other side of it has electrical contacts that will need to be cleaned.
 7) Note the rocker arm that goes to the switches 1 – 3. The position in between the leaves of the switch are crucial. It will need to be placed back in exactly the same position.
Remove the retaining ring and set it aside. Remove this nylon plastic rocker arm and place it aside.
 8) Remove the screws holding the circuit board in place. Swing the board out and allow it to hang from its wires.
9) Remove the screws holding the plunger stop in place and set these parts aside. Leave the coil with its sleeve hanging.
Cleaning and Lubrication
Note about lubrication: Most pinball parts are designed to run ‘dry’ meaning no oil. But we now have ‘dry lubricants’ – meaning Teflon, so they can be used without the parts getting gummed up. Light sewing machine oil has also been successfully used on metal to metal contacts. Never use WD40 as it is flammable.

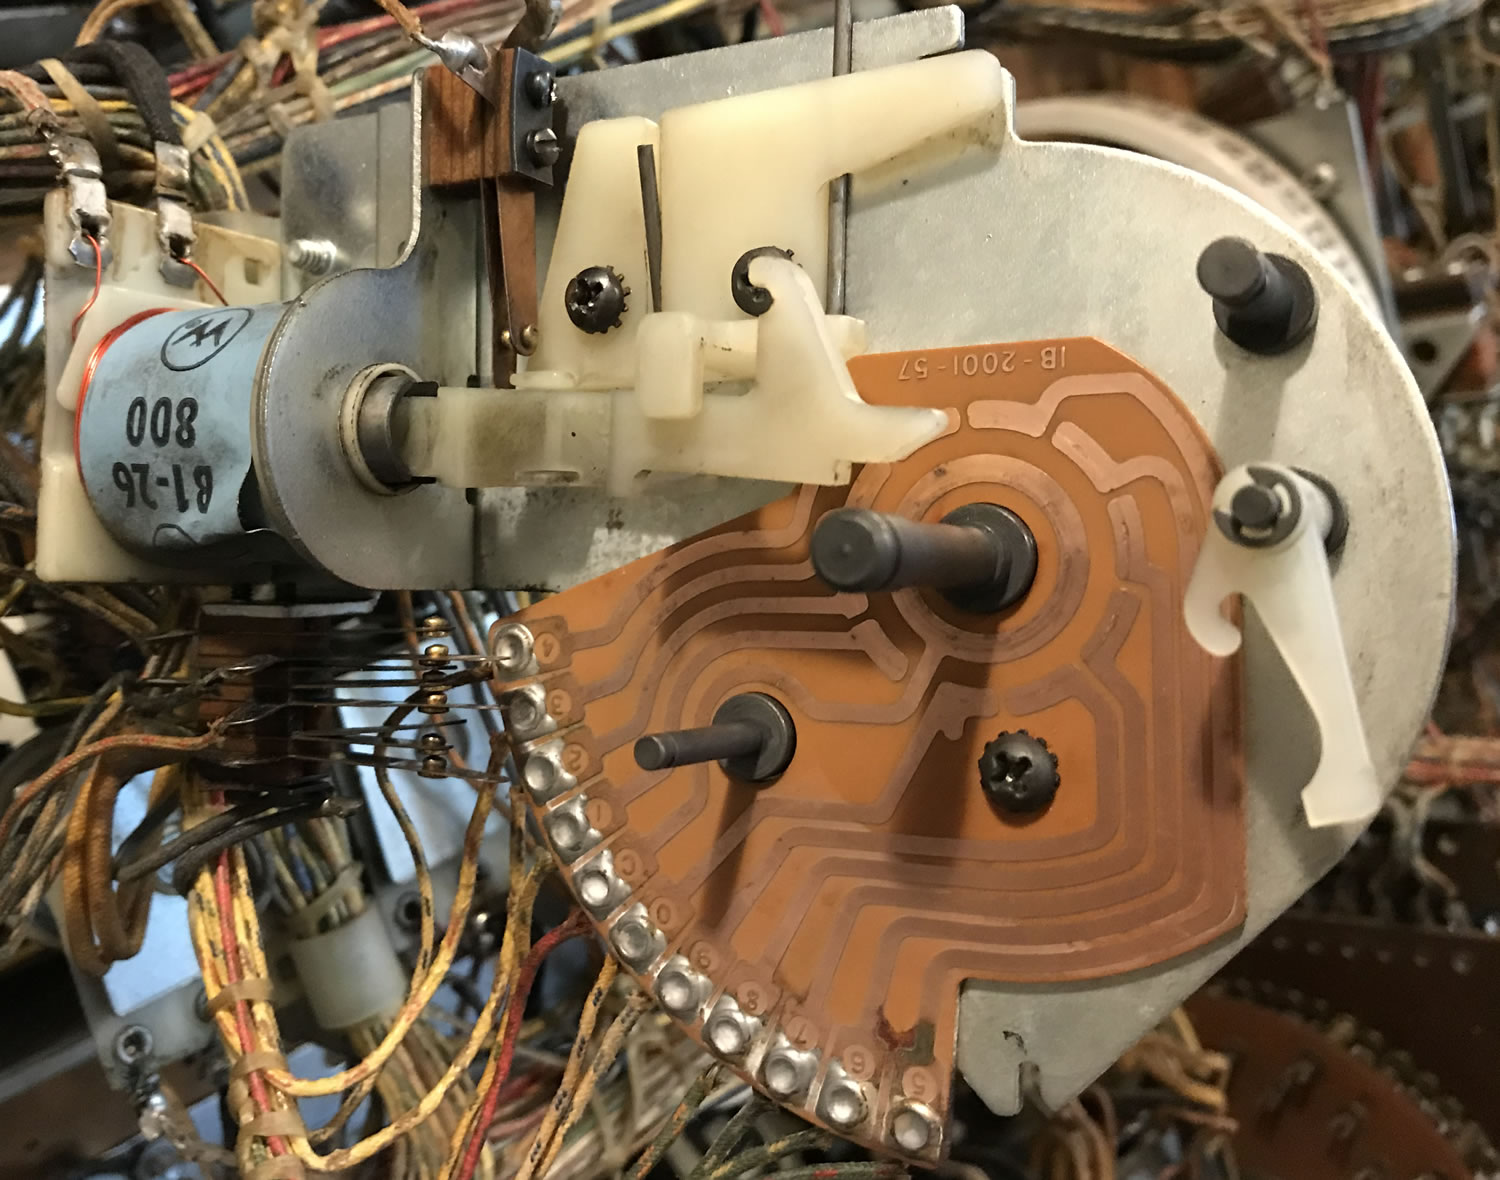
 10) Grab your Mother’s Polish and polish the circuit board with a microfiber cloth. Make it shine. When finished, clean with 91% isopropyl alcohol.
11) Wipe a tiny amount of teflon chain lubricant on the circuit board. Wipe off any excess with the microfiber cloth. If there is too much, the circuit board might not conduct.
 12) Note the area where the plunger slider moves. Any dirt or worn marks on the metal plate could cause the plunger to hang up. Use the Dremel tool along with the 1/8″ Carbon Steel Brush 443 to clean up that contact area. Wipe with Mothers Polish, clean with isopropyl alcohol, then a small round of Teflon dry lubricant. This and cleaning the coil sleeve / plunger maybe the most crucial steps to having the scoring wheels ‘snap’ into position.
13) Remove the coil sleeve from the coil. Either replace it with a new one, or soak a linen cloth with isopropyl alcohol and work it through the sleeve.

 14) Clean the coil stop with isopropyl alcohol. Check for burs on the side. If needed, use a metal file to remove any burs from the coil stop.
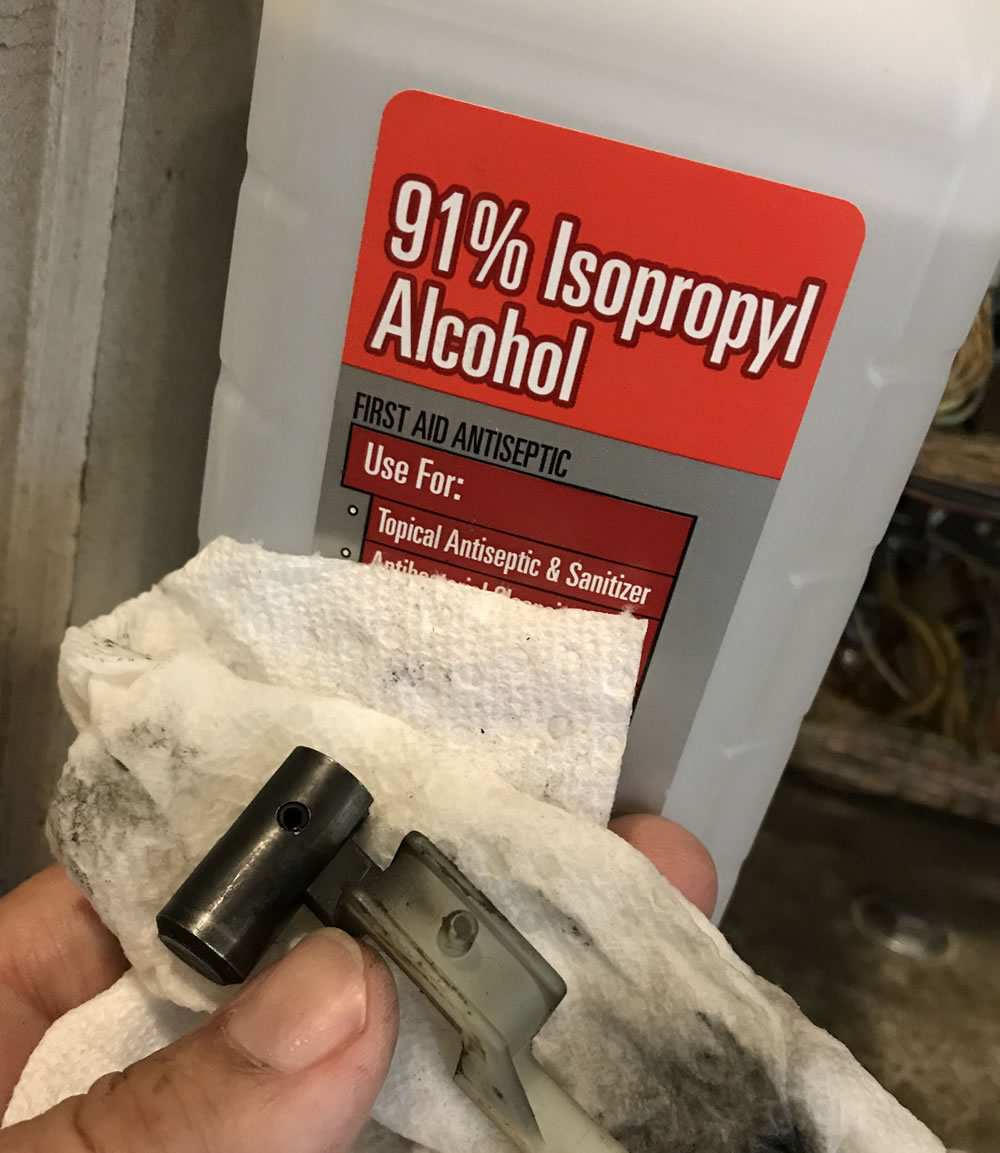
15) Select the plunger and clean it with isopropyl alcohol.

 16) Clean the leaf switch contacts. Generally, all that is needed is a Q-tip and isopropyl alcohol. If there is arching damage on the contacts, clean with the Dremel and the carbon steel brush, or Dremel sanding flap wheel. This can remove the damaged area of the contacts. Another technique is to put a fine metal file between the two contacts, pinch them together and drag the file back and forth. Each technique has its advantages and detractors.
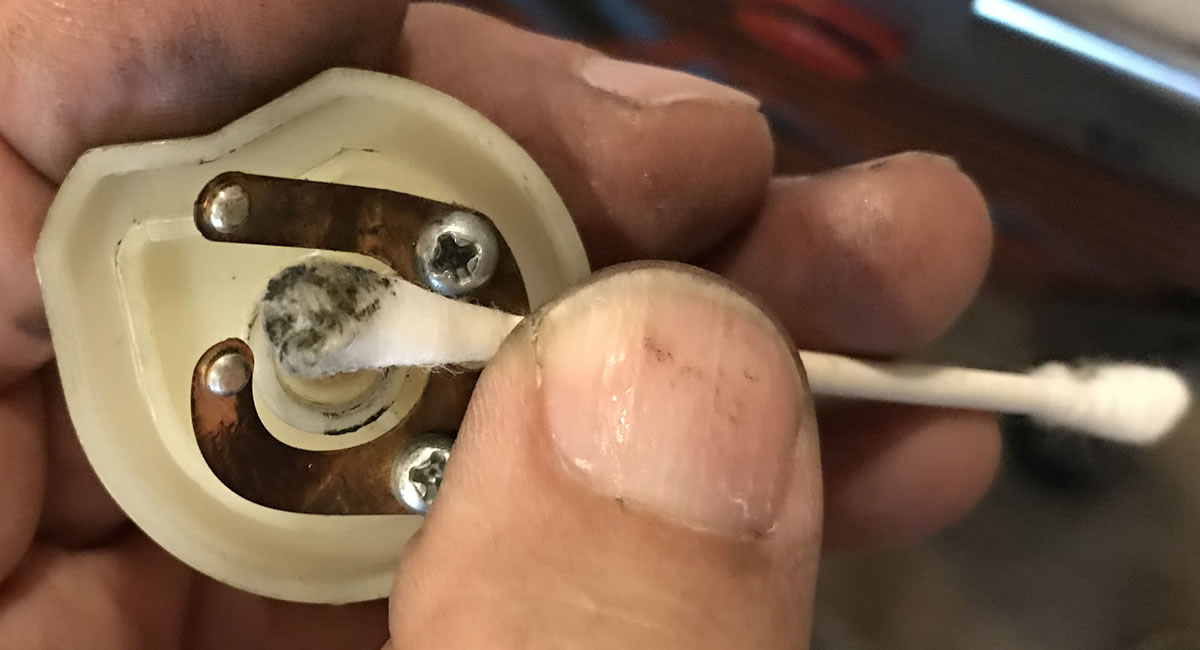
 17) Grab the center gear and clean the metal contacts with isopropyl alcohol. Do not add any lubricants to this part.
18) On the other side of this gear, clean out as much of the gunk as possible. Isopropyl Alcohol and Q-Tips usually do the job, but sometimes a toothpick is required. Don’t forget to clean out the shaft area. Do not erase the mark to indicate orientation of the score number wheel.
Reassembly
 19) Reinstall the following parts: Circuit board and screw, coil sleeve into the coil, coil stop, and plunger.
20) Using the two screws, install the top plastic holder and wire tab. This plastic holder keeps the plunger in place as well as the lock wire. Note that the lock wire fits under the plastic holder in the slot provided in the back of the tab. It will be obvious when this is assembled properly and it will not fit well if it is not.
 21) Grab the rocker arm and make sure it is clean. Have the retaining ring handy.
22) Insert this rocker arm into the leaf switches 1 – 3. It is crucial that this rocker be in the correct location.

23) When the rocker arm is correctly positioned in the leaf switches, secure it with the retaining ring.
24) Grab the nice and clean center gear and slide it into place.
25) Grab the numbered wheel and align it with the mark you also placed on the gear. Attach with the three screws.
Switch Adjustments
Almost done. Now to check proper operation of the switches.
26) Refer to ‘Understanding the Switches’ at the beginning of this page. Insure that switches 1), 2), 3) open and close as the score wheel turns. Advance the score wheel by manually pulling in the plunger. Inspect the switch 4) and insure that the EOS switch stays closed and opens as the plunger pulls in fully.
If adjustment of the leafs is needed, refer to Switches – Fixing and Adjusting and go to the Leaf Switch section.
All done. Insert back into the cage, power up and check for proper operation of the reel. Insure that as the reel moves from ‘9’ to ‘0’, that the next reel advances.
Comments
Comments, including suggestions, improvements, errors, etc. are welcome (see below).
If you have a specific question about your game that does not directly apply to this page, please see our FAQ section.
I am looking for some help hopefully. My wife and I have the Aztec machine. People made crappy repairs that I am trying to fix. The main problem is a score drum relay is burnt out. Scorched the plastic that it sits on, and a few of the wires are bad. Is there anywhere that I can buy the whole wheel assembly, or have it rebuilt? I have been searching, but very little luck unless I tear it down.
For EM parts, we always start with Steve Young’s Pinball Resource for parts.
https://homepinballrepair.com/external-links-the-most-complete-list-of-pinball-links/#parts
If he does not have it, you could try eBay. It is tough to look unless you have the part number. Sometimes that is in the user manual. But more often than not, you will need to access the old parts catalog from the manufacturer and that era. There have been sites on line that have copies of old parts manuals. Some of those are on the page linked to above.
Pinside seems to have a group of people who have a large number of EM parts that are willing to part with them.
As to repair, we are unable to have a reliable list of people since it changes so often. There are repair forums on Facebook that might be helpful. Our specialty here is providing information for people learning to repair their own machine.
Thanks and best of luck on your quest.
Any info on checking / fixing Bally scoring units? I have 3 1976 Bally machines that have various scoring issues.
Thanks
Yes. This is the technique we use for most Bally and Williams score motors. Some people try to figure out which switch is causing the issue. We figure that if there is one that has a problem that there are more. So we adjust every single switch. Following this methodical technique has never failed us.
https://homepinballrepair.com/em-score-motor-adjusting-repair-pinball/
Would anyone have end of stroke switches for Williams 3″ score reels – I have a 1972 Williams Stardust that has three broken.
The best source of EM supplies is Steve Young of The Pinball Resource. The absolutely best way to get help is to call in. You could email, but things get bounced back and forth.
Note that he does not accept credit cards. On your first order, he may require you to send the amount in via check prior to shipping. After that, he will have a customer number. Always keep that handy when calling as he will place your order at that point and cannot do it without your customer number.
The quantity and quality of EM parts he has is unsurpassed. And Steve is incredibly knowledgeable. The industry is lucky to have him.
https://pbresource.com