A. Clearing the Playfield
1. Supplies Needed
2. Preparation
3. Clearing the Playfield
4. Removing the Ramps
5. Removing the Pop Bumpers
– Removing the Sling Shots
B. Cleaning the Playfield
6. Cleaning the Playfield
C. Repairing the Playfield (optional)
7. Playfield Repair
8. Fixing Inserts
9. Sealing Your Work
C. Rebuilding and Adjusting
10. Rebuilding the Mechanicals
11. Switches and Reassembly
12. Final Testing
This is a multipart series on how anyone can do a complete overhaul of your pinball machine and make it work like new.
Prior to sealing anything up, make certain that you have followed the previous steps. Your playfield must look the way you want it to look with all repair completed and inserts fixed.
Note: If you did not use a harsh abrasive to remove the clear coat, nor painted or added decals, then you do not need to add a sealant. However, some may choose to do so in order to preserve the current condition of the playfield.
Sealing Your Pinball Playfield
If you have painted, applied decals, used Magic Erasure and removed the protective coating, then you must reseal your playfield.
If you have just used a spot decal or two, then you maybe able to getaway with sealing only where the decal is applied. However, it is better to re-seal the entire playfield.
Generally, it is important to wipe down the playfield with Naphtha prior to sealing, to remove any remaining wax. However, if you have painted or applied decals, Naphtha could damage those repairs.
Clear

#1 the absolutely best is to use ‘Clear’ or ‘Auto Clear’. It is hard, permanent and will not yellow. It fills in any sunken inserts (raised ones will have to be fixed). The downside is that not only everything has to come off the top, but everything needs to come off the back. That includes all wiring. It is best to also clean up the back too and maybe paint it.
There are people that will tell you how to do it yourself. We say, just don’t! Auto Clear is dangerous. Inhaling any will permanently destroy your lungs. Enough and you will die. We know of people who suit up, do it in their garage, or even outside (don’t live downwind). Just do not do it yourself. Ask around for a commercial car repair that has worked on pinball playfields. It takes practice and learning to get it right. We have a few playfields that were ruined by professional car repair places.

A ‘cleared’ playfield will look great (assuming the work under it looks great). And it will last essentially forever.
If one wants an ‘authentic’ looking playfield, then it is only appropriate for ~1990 and newer playfields. It was about that time that Williams started using Diamond Plate on their playfields, which left a hard clear finish. Prior to that time, polyurethane and lacquer were used. Using clear will make it much brighter than original. The whites will be completely white. On the original playfields, the white colors ended up having a yellow hue to them because of the lacquer or oil polyurethane.
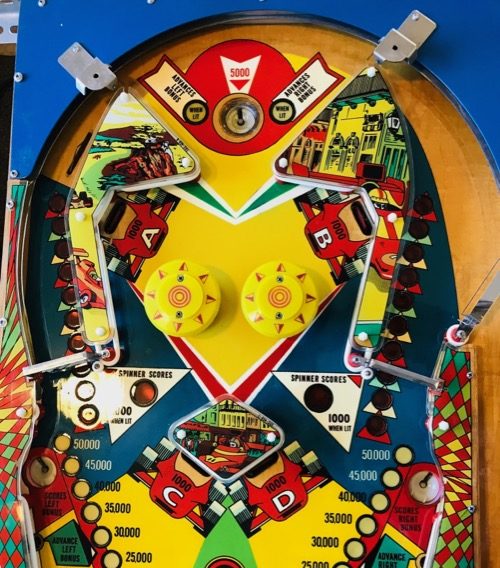
Note the bright white colors of the Grand Prix playfield on the left. Other colors like the yellow are also much brighter than the original. If it looks great to you, the ‘clear’ it. If it doesn’t look right to you, then ‘poly’ it.
The downside of doing a ‘clear’ is that both the front and back of the playfield have to have everything removed. You will need to find someone to do it. The clear will seal your work forever (good and bad). And if the clear is messed up your playfield is ruined.
We recently tried a few area auto repair places with ‘practice’ playfield. The first one just could not get it right and ruined a playfield. The second one did a perfect job. So don’t risk a valuable playfield with any car repair place and expect it to be right.
Polyurethane
 We know people who turn up their noses at polyurethane and there are good reasons. Poly does yellow. Water based oil-modified polyurethane does not yellow as much, but it does yellow a bit. It is difficult to get right, people put it on too thick, it is not as hard and auto clear, spraying or brushing it can leave mistakes, etc.
But it can be done by the home owner. When done properly, and a fairly thin layer, it will lock in your artwork, only yellow a little bit and is hard enough for home use of pinball machines.
It is not as good as clear. It will not fill in sunken inserts (but see filling inserts). But polyurethane can be removed, so mistakes can be fixed.

We have applied water based poly with spray and with foam brushes. Both have their drawbacks. We worked with a furniture maker / restorer to get the brush application just right and do that now. But initially, we had problems with streaks and applications that were not even.
For the occasional user, spray cans maybe the way to go. But most spray poly is oil based and that yellows more than the water modified.
It maybe possible to use a spray gun to apply the water based oil-modified poly, since it cleans up with soap and water. But we have not tried this.
Each manufacturer has detailed instructions on the container for prep and application. Always pay attention to that and follow it closely. The playfield must be cleaned of all wax (which you did when using Novus 2 or Magic Erasure). It is a good idea to go over the entire playfield with sandpaper. Fine sandpaper such as 220 grit can be used (unless the manufacturer states otherwise) and it is only necessary to sand lightly.
Prior to applying the poly, wipe down with Tack Cloth to remove any dust, dirt or sanding particles.
Water Based Urethane
Manufacturers have developed a water based urethane that does not yellow like the oil or water modified oil poly. They claim that it has all the hardness of the oil based urethanes and none of the disadvantages. We do not have any experience with this product.
From the Minwax page: “Water Based Helmsman® is formulated to expand and contract with temperature changes. Because it is flexible, it is not suitable for use on floors. Floors require a harder finish such as Minwax® Water Based Oil-Modified Polyurethane.”
Minwax has an online guide to the different finishes which maybe of some help when choosing. Rustoleum (the owner of Varathane) has a similar online guide. If anyone has experience with these products, please contact us. We are looking at durability, ease of application, as well as lack of yellowing. Products that claim to work on floors hold the most promise.
There is a new(er) water based product that cross links to provide a hardness and does not amber. We are interested in trying this product. It must be wiped on and cannot be sprayed. If you have any experience with this, please let us know.
A link to a YouTube video on applying
Lacquer
Lacquer is rarely used anymore. But if you want to restore an older pinball machine to look original, then they used lacquer. Lacquer ‘melts’ into the paint (and decals), yellows, is not as hard and poly and cannot be easily removed.
The only reason we see to use lacquer anymore is if you are going after the ‘original’ look of the pin. We do not use it.
External Links
Using Varathane – Playfield clear coat using Varathane Diamond Wood Finish – Outdoor, which is water based. This looks very promising.