Different problems and wear spots require different repair techniques. We generally rely on spot decals and painting. Using an airbrush is what is covered in this section.
Starting Out
Using an airbrush on a playfield the first time can be intimidating. There is a lot to learn about the ‘care and feeding’ of an airbrush. We all go through this and don’t worry about it. Take a little time to watch instructions on the use, cleaning and disassembly of an airbrush.
But the best news is the paint. The advantage of using the Createx paints is that they are water soluble. That not only makes clean up easy, but any mistakes can just be wiped off the playfield with a damp cloth. So if you mess up, a quick wipe makes it go all away. If it turns out OK, the paint is made permanent using heat.
Supplies Needed
We have tried expensive airbrushes and pumps. They are important for skilled airbrush artists who do freehand work. But we are, quite honestly, not skilled artists. We rely on masking the area, then spraying evenly across the area to be painted. For this relatively primitive work, we find an inexpensive airbrush and pump work just fine. For those planning on more intricate artistic work, higher quality tools than we use here are required.
Photo Gallery

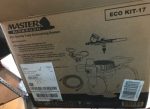

Airbrush and Pump – This pump is adequate. The airbrush is pretty low level. Might want to get this pump and buy a slightly better airbrush.
Cleaning Tools – Keeping your airbrush clean is crucial. The cleaning pot is a must.
Cleaning Solution – Clean before you use it and afterwards. It is a pain, but important.
Paint Diluter – We love the Createx paint. It is supposed to be ready for spraying. We find we need to ‘water it down’.
Frisket Film – Use this to create a mask on the playfield so that paint only covers what you want it to.
Createx Color Paint – We love this stuff. It is water soluble and easy to remove. But hit it with heat and it is (mostly) locked in.
Hobby Knives – To cut the frisket film.
Heat gun or hair dryer – If using Createx paint, this will fix the paint.
Optional
Airbrush – Nothing fancy about this one, but it works. Better than the one supplied with the pump.
Blue Paint Tape.
Circle Template – Helps with cutting and drawing circles.
Tack Cloth – Sticky cloth to remove any remaining dirt. A lightly moist cloth can help, but this is better.
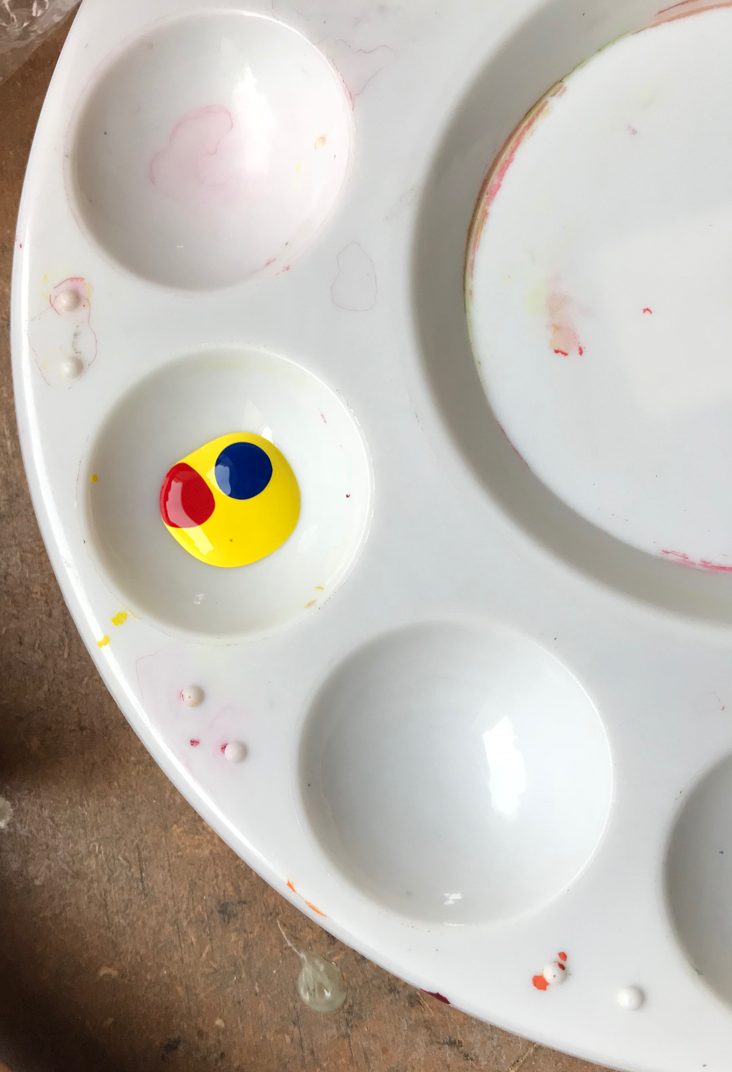
Paint Tray – Those semi-disposable paint tray palettes for mixing and color matching paint.
1 Ounce Plastic Paint Hobby Airbrush Mixing Cups – used to mix larger quantities of paint for use in the airbrush.
Blue Paint Tape – the type used in home wall painting.
Liquid Frisket – Used like frisket film, but brushed on. Handy for smaller areas that are difficult to tape and cut.
Artist Tape – Flexible, but narrow, low adhesion tape that can be shaped to follow curves.
Static Cling Film – Perhaps less expensive than frisket paper, this can extend your protected area at less cost. It is also less likely to lift any loose paint.
Using the Airbrush
There are multiple resources on the web on how to use an airbrush. We are not going to attempt to duplicate them here. But here are the most important things to look for:
* Cleaning and maintaining your airbrush
* Prepping the paint for an airbrush
* Spraying / using the airbrush
External Links on Airbrush Use
Airbrush Guide – Pretty basic. Skip the solvent paint section.
Basics of Airbrushing – Pretty good introduction.
Learn How to Airbrush – And Another one.
YouTube Tutorial – Life is not complete without a video.
Createx Application Guide – Guide on the use of recommended Createx airbrush paint.
If you find a website or video that is particularly helpful, please leave it in the discussion section below and we will add it to the list.
Preparation
For a complete description of the steps here, see the section on cleaning the pinball playfield and on filling in worn spots.
Prior to painting, the playfield must be:
* Clean of all dirt, wax and oils.
* Level. Any spots where the paint is worn off must be filled.
* Dry.
* Final wipe with a tack cloth (if not available, a lightly dampened cloth).
Note: If an area to be painted contains printing or another image you want to reproduce, be sure to scan it prior to painting so that you can make a decal to restore the area. See the section on playfield decals.
Masking off the Area to Paint
Photo Gallery


The purpose of the frisket film is to protect the area that is not to be painted. It serves the same purpose as a stencil.
Identify the area to be painted. Generally, it is best to do all of one color on the playfield at the same time. This saves on cleanup. And if the paint colors need to be matched, it is better to mix enough to use on all areas of that color at the same time.
If painting all of one color on the playfield, it has the added advantage that the color does not have to exactly match the original color. It should be as close as possible, but it is much harder to exactly match a color so that side-by-side comparison does not show a difference.
For most playfields, we like to start with the white first. It is the easiest to match. And if a later touch-up goes wrong and affects the white, the white is the easiest to go back and repair.
We always repaint the white areas under the plastics. When those are white, they allow the GI’s to brighten up the playfield.
1) Identify the area to be painted. Cut off enough frisket paper to more than cover that area and leave enough safety to remove the overspray.
2) Pull off the backing on the frisket and lay down the paper.
3) Using the nice, new, sharp hobby knives, cut out the area to be painted and remove that portion of the frisket.
* If cutting a straight line, use a straight edge such as a ruler.
* If cutting a circle, use a circle template to best fit the cut.
4) If removing the frisket to expose the area to be painted exposes lamp sockets or holes, we ball up blue painters tape and jam it in lamp sockets. This has to be tight to work. For larger holes, we tape from underneath.
Note: Cutting this portion to be removed requires just the right touch. Cutting too deeply will damage the playfield. Cutting too lightly will make the frisket difficult to remove and may detach or stretch the portions you want to remain.
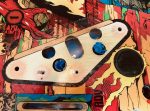
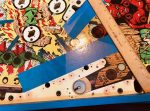
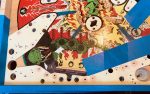
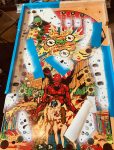
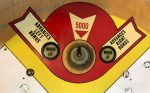
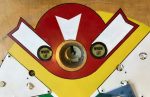
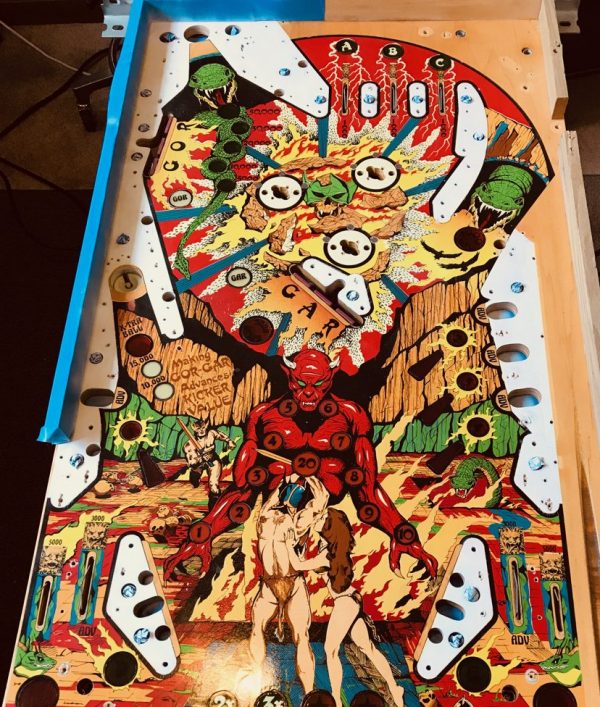
Images 4 – 9 show the application of frisket paper covering the white areas on a Gorgar prior to painting. In each case, frisket is laid down covering the area over the white and a ‘safe space’ to allow for overspray. The white portion is then cut out using a hobby knife.
Since frisket paper is clear, it is difficult to see the frisket in these papers. Also, in this instance, we used blue painter’s tape for the straight sections. That is optional.
Blue painter’s tape is also used to cover the side rails. Many people remove those rails and that is easy to due if they are held in place by wood screws. However, we like to leave them in place when possible because the playfield tends to sag without the side rails. Flexing of the playfield can damage the paint.
Airbrush and Painting

Run airbrush cleaning solution through the airbrush. Note that the cleaning solution fumes are nasty. It is important to set the airbrush into the cleaning pot jar to trap the fumes. Be sure to add water to that jar and insure the filter is in place.
Check to see if your paint works for your airbrush. If using the recommended Createx Color Paint, it is recommended that the paint be ‘thinned’ perhaps using about 75% paint and 25% paint diluter. Play with the ratio to see what works best for you. This can be mixed in the airbrush paint cup, or in a 1 ounce paint mixing cup.
Perform a test spray on a piece of cardboard or paper. Use darker paper if painting white. If larger drops are being emitted, either the paint is too thick or your airbrush is not clean enough.
Note: Prior to each press of the airbrush trigger, it is suggested to spray the first few drops on a spare piece of paper, then spray the area in the playfield. With some airbrushes this may be unnecessary, but many will spit out a few drops at first each time.
Evenly and lightly spray paint the area. It maybe be necessary to make several lighter coats to cover a darker area with light colored paint. If the area has been patched, it maybe better to use a brush to paint on the color first, let dry, then sand lightly and finish up with the airbrush.
If you find that your airbrush is not spraying evenly and is spitting out larger drops, or barely spraying at all, then your airbrush is clogging. It will be necessary to rinse out the paint, disassemble and clean it thoroughly. Clogging can be caused by the paint being too thick or the airbrush not being cleaned well prior to starting.
If there are any mistakes, remove the paint with a damp cloth. This needs to be done fairly soon. The Createx paint will be difficult to remove if allowed to sit for a longer period of time.
Dry the paint. The Createx paint is ‘fixed’ using a heat drying. A hair dryer or heat gun can be used, but be very careful not to overheat with a heat gun. See the Createx guide for more specific information.
Carefully inspect the area(s) painted. If more is needed to cover the defects and give a consistent color, apply a second coat. This can be done shortly after the Createx paint is fixed with the heat and it has cooled. Fix the second coat using your heat source.
Removal of the Mask
Removing the mask is easy and straightforward. Just find a corner and lift it slowly off the playfield. The mask adhesive is light, so it will come off easily. Any loose paint will come off with it, but that would have to be repaired anyway.
If there is any paint that went outside the masked area, it usually can be removed. Try a rag with warm water. If that does not work, try scraping it off with either a plastic blade or, for small areas, your fingernails.
Assuming you did all the areas that required that color, thoroughly clean you’re airbrush. You may have to partially disassemble it. Be sure to use the cleaning solution and spray it into the cleaning pot.

Image 14 shows a Gorgar playfield with the frisket removed. The white paint looks brand new on the playfield.
Image 15 shows a Getaway – High Speed 2 with the white behind the ‘eject hole’ repainted. Because only the area damaged was behind the hole, this was filled, sanded and painted. Some frisket paper was used to protect the GI sockets, but the entire white area was not painted.
Repeat the above steps for each of the colors to be repainted.
For colors other than white, be sure to check out our section on mixing paint colors to match the playfield paint. Since you will be painting an entire section, matching it perfectly here is not crucial. If there are several areas of the same color, but you only want to repaint one of them, if the color is a little different, no one will notice it (trust us!) – unless you point it out to them.