Types Of Pinball Machines
Quick Intro
You want a pinball machine. You are going to be investing a large amount of money. Take a few moments to read this, before someone takes your money and leaves you with a headache. Be sure to download the checklist (below).
There are essentially two types of pinball machines: EM and SS.
EM – Electrical Mechanical. They have relays and spinning mechanical reels. While quite complicated, those with basic mechanical skills can do basic repair work. Built up until about 1977.

SS – Solid State. An odd name to mean computer controlled. Displays have no moving parts and are usually plasma. Some of the same components as EM, with mechanical flippers, sling shots and pop bumpers the same.

DMD – An advanced SS which many lump together with SS. DMD stands for Dot Matrix Display. It is a rectangular box in the cabinet with a plasma display used from about 1992 on. More recent machines may have a TV LCD display.
Note: Click on an image for a larger picture.
What To Consider
When deciding what to purchase:
- Price range. Less desirable EM machines in poor shape can be purchased for $400 or less. SS can go for anywhere from several hundred up several thousand. DMD (dot matrix display) pinball machines usually start at about $2,000 on up to $10,000 or more for special collectables.
- Know what is a fair price. Prices can vary tremendously for the same pinball machine. Sometimes it is condition. Other times, the seller or buyer pays the wrong amount. Prices have increased dramatically in the last 20 years as supply has dropped and demand risen. For finding a fair price, see Fair Price section below.
- Location in your house. Pinball machines are heavy – 200 to 400 lbs (90 to 180 kg) and are bulky. Older ones can be split into two parts. Newer ones fold down but are heavy. It is tough to move one up or down stairs.
- Noise. Playing pinball is fun and they are noisy.
And perhaps the most important:
- Who is going to repair it? These things break. Most are 20 – 60 years old. They need constant adjustment and sometimes break down and are unusable. If you cannot fix it, who will?
Even if you are shelling out $6,000 and up for a new machine, it will require maintenance. Think of it as a heat pump. Most of the time it will work fine, but it will break. And it must have regular maintenance done to keep it running.
What Is A Fair Price?
A fair price is what a buyer and seller are willing to agree on. And that differs depending on condition, location, and knowledge.
Pricing sources:
- The bible for pricing is the Mr. Pinball Pricing Guide. It is the most thorough complete compilation of prices for almost every game ever made. The paper edition is $25 as of 2018 and is well worth the investment if purchasing even one game. And electronic version is also available.
- Pinside has a reasonably good history of sale prices. While not as thorough as Mr. Pinball, it is worthwhile checking out.
- Boston eBay Results – This used to be great. But fewer games are sold on eBay these days.
- Pinpedia has some recent results.
- Pinball Price used to be a great database, but it appears to be broken as of this writing.
If you don’t know how to fix a machine, consider buying from a retailer business that will provide after purchase support. This will cost more, perhaps 30 to 50% more than buying from a collector.
What To Look For
After you have located a game, find out the condition of the game. Note that a thorough inspection may take up to an hour or more. Since you maybe spending thousands, take your time. Be polite to the seller. Most sellers are flexible to potential buyers.
The Playfield
Look for wear. Older games were lacquer coated and will usually have wear spots. Newer ones may have a hard coating often called Diamond Plate that will keep the playfield look almost like new. Diamond Plate is a trade name that uses automotive urethane. Look for that name on the playfield. Other hard coatings have also been used under other names.
If it is older and has a few wear spots, that would be typical, and make it of average value for its age.
If broad sections are worn through to the wood, the playfield is essentially shot and that decreases the value dramatically.
Some older playfields will have spots of Mylar placed in high wear area. Mylar is a great protector, but it can become cloudy or start to pull up around the edges. And where the Mylar ends, the playfield can have extra wear.

For many popular games, new playfields are available. But they start at $800 and go up. Then someone has to put in the labor to transfer everything to the new playfield. That can get expensive. It is worth it for a $4,000+ collectable, but usually not a $1,000 game.
Even a nicely protected Diamond Plate playfield can have issues. The worst maybe something called ‘planking’. Planking is when the wood underneath starts to separate in vertical lines which causes the paint to peel. If you see a planking playfield, consider that game to be worth a lot less.
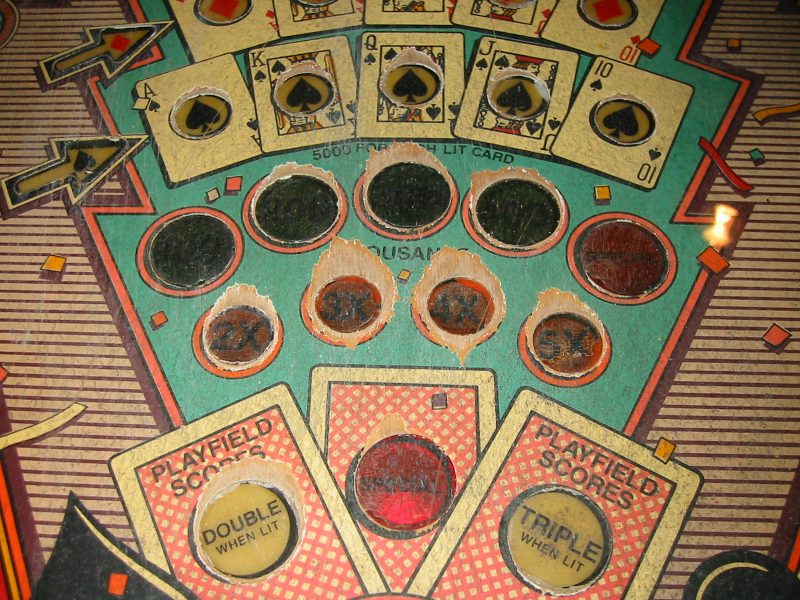
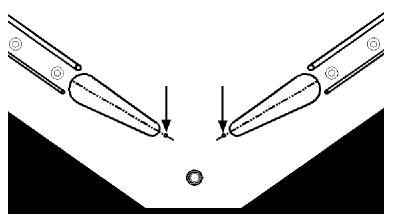
When looking at the playfield condition, also look for broken or missing playfield plastics. These are the plastic pieces that cover machinery on the playfield. The most likely to be broken are those just above each of the lower flippers in an area called the slingshots. But any of the plastics can be broken.
It maybe possible to purchase playfield plastic reproductions. This can cost about $200 and they are available usually for the most popular games.
The Backglass and Translite

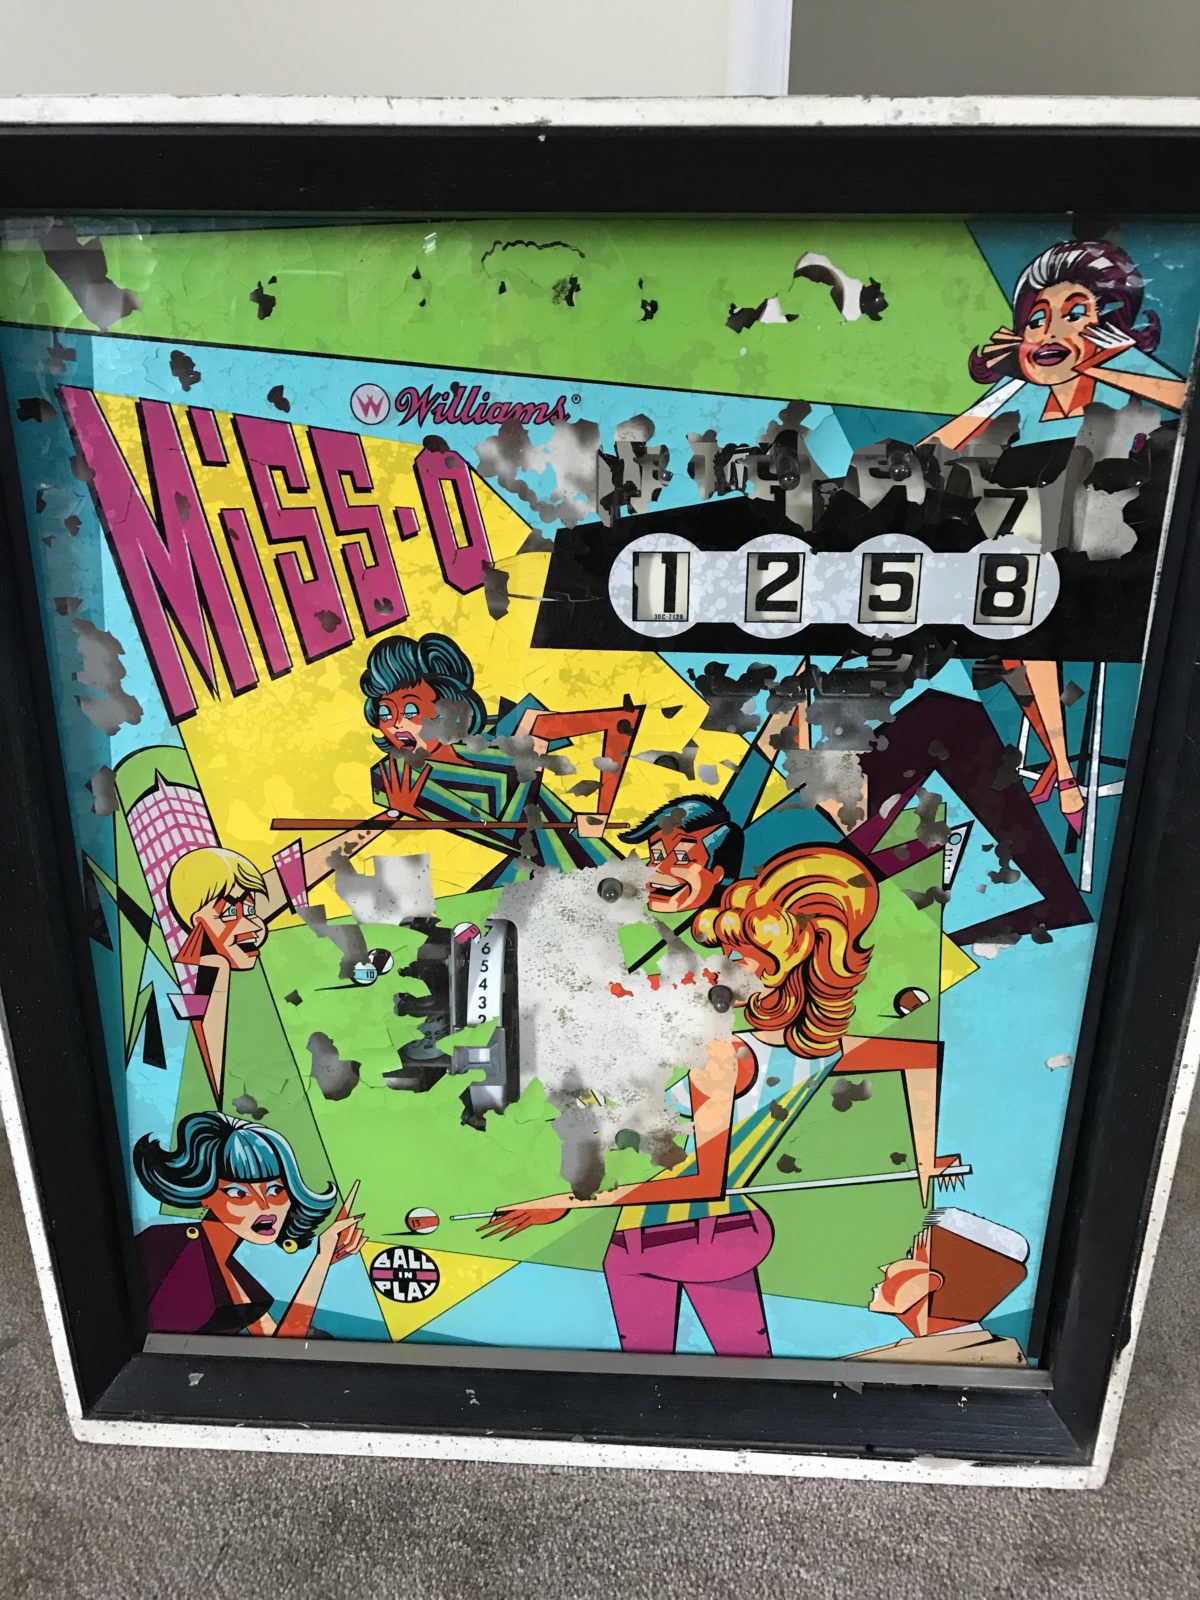
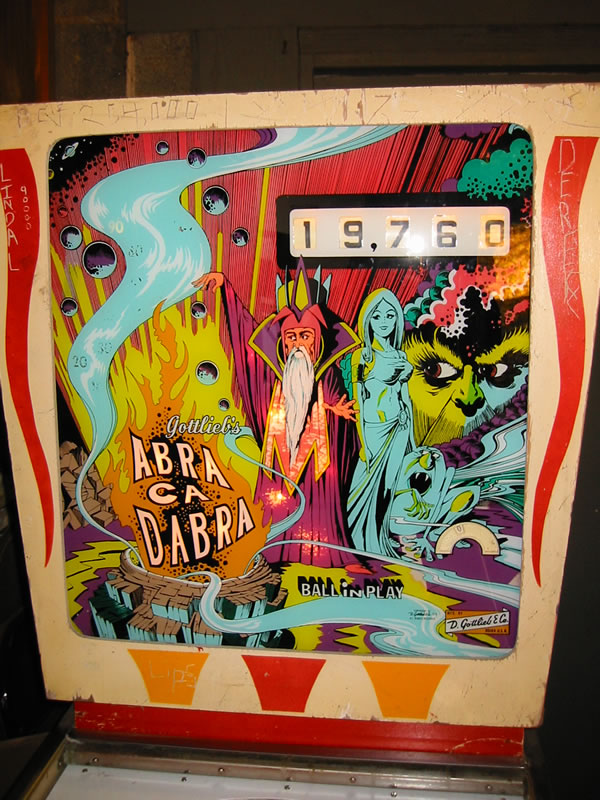
Prior to 1986, all pinball machines had a blackglass. A pinball blackglass has an unfortunate tendency to peel and flake. Usually one color will go first. Other times, a perfectly good looking backglass will flake off in a short period of time. If the pinball machine you are looking at has a terrible backglass, it is worth far less.
But don’t skip buying that game just because the backglass if flaking. For many games, nearly all the backglasses are flaking and there is no alternative. The example here is terrible, but most lose just one color, often red.

Some backglass have been reproduced. They can typically run $200 and up.
A broken backglass, even if all pieces are in place, is almost worthless, making the game worth a lot less.
In 1986, the first translite was introduced in the pinball machine Raven by Gottlieb Premier. Eventually, all machines were made with translites. A translite is essentially a photograph printed on a piece of plastic. Properly cared for, it will last far longer than a backglass.
A few pinball machines have activities going on in the backbox. These can be spinning disks, shooting guns or even dancing dolls. While not common, if there, be sure to check them out.
Topper (If Applicable)
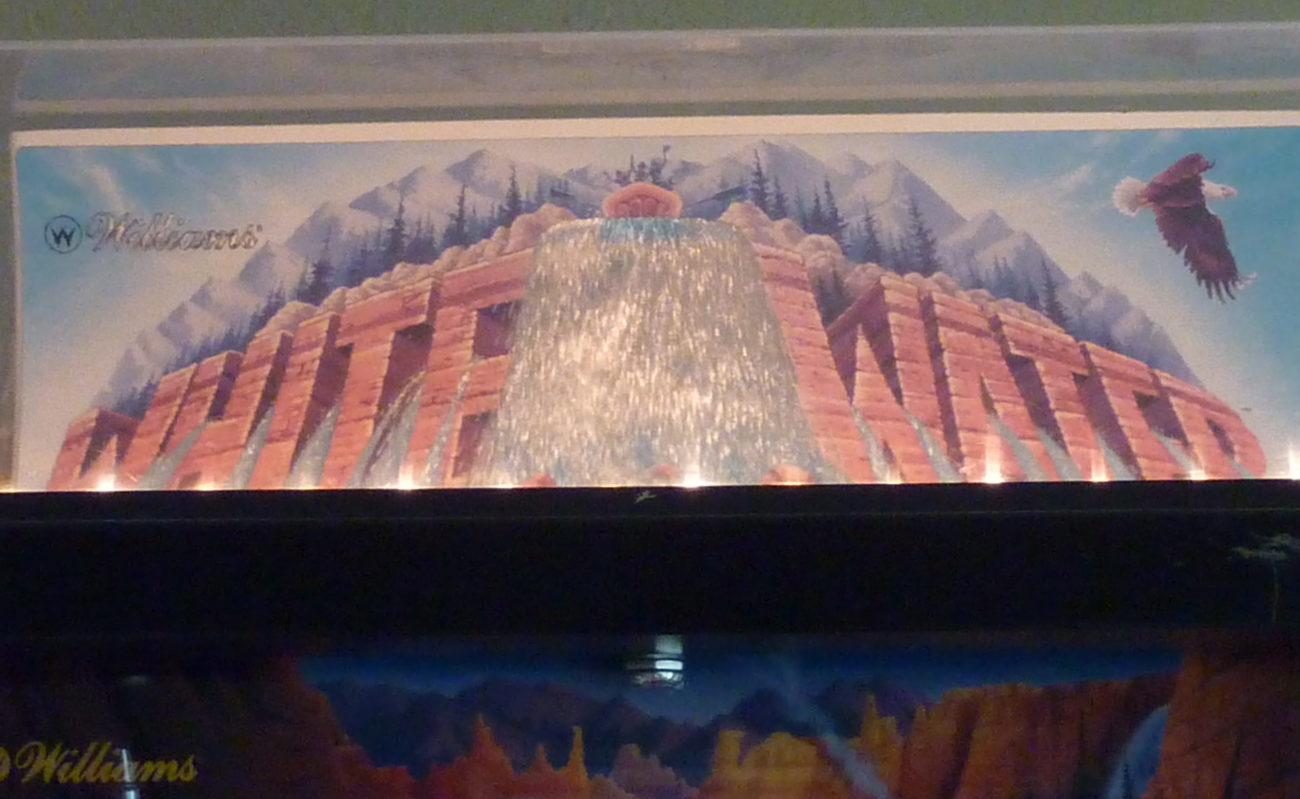
Some pinball machines were built with a topper – placed on top of the backbox. If it had one originally, it should be included and in good condition or the machine is worth less. Some toppers have been reproduced, but others, like Whitewater, have never been. On newer pins, toppers may only be included in LE or collectible editions.
Some toppers are not original to the machines, but are sold as extras. If they look good, they add value to the pin, but likely not what they cost the owner.
The Cabinet
Pinball cabinets get beat up and fade with sunlight. The more beat up a cabinet is, the less valuable it is.
Sunlight will usually cause the red to disappear. Sometimes it is difficult to know that this has occurred unless you have a reference. For that reason, I recommend getting a photograph of the cabinet off the IPDB website prior to checking out the machine.
It Is Dirty
All pinball machines get this filthy black grime. And games with black rubber get an almost oily coating on the playfield. This is normal and is easy to take care of with time and some elbow grease.
But if you see any water damage, that is not easy to repair and may require significant wood replacement and cabinet restoration.
Rust is not unusual. The mechanism that locks down the lock bar is almost always rusty. These parts can usually be restored, replaced or ignored.
The Mechanics & Electronics
All Pinball Machines
Insure that the coin door locks. If not, get a lock to prevent unauthorized people from reaching in and getting a shock.
Make sure the keys to open the backbox are available. They are usually inside the coin door, hanging from the coin mechanisms, or around the left off the leg bolt.
Check for the manual. Photocopies stapled together is a poor substitute for a real manual or a professional reproduction.
Inspect the power cord / plug. Make sure that third ground pin is there on machines that had them. Make certain the on/off switch works well.
Is it set to free play? Most games are easily modified for free play. Some early SS Bally, Stern or very early Williams do not have a free play setting but can be modified with moderate effort. If someone has drilled a hole to do this, they have reduced the value of the machine. Be wary of any other ‘improvements’ they might have made.
Check for rust on the legs, coin door and lock down bar (above the coin door and holds the playfield glass in place). Insure that the playfield glass slides fairly easily in and out and the lock down bar is easy to reinstall. Any problems with these reduces the value of the pin.
SS (Solid State) Machines – Using The Service Menu
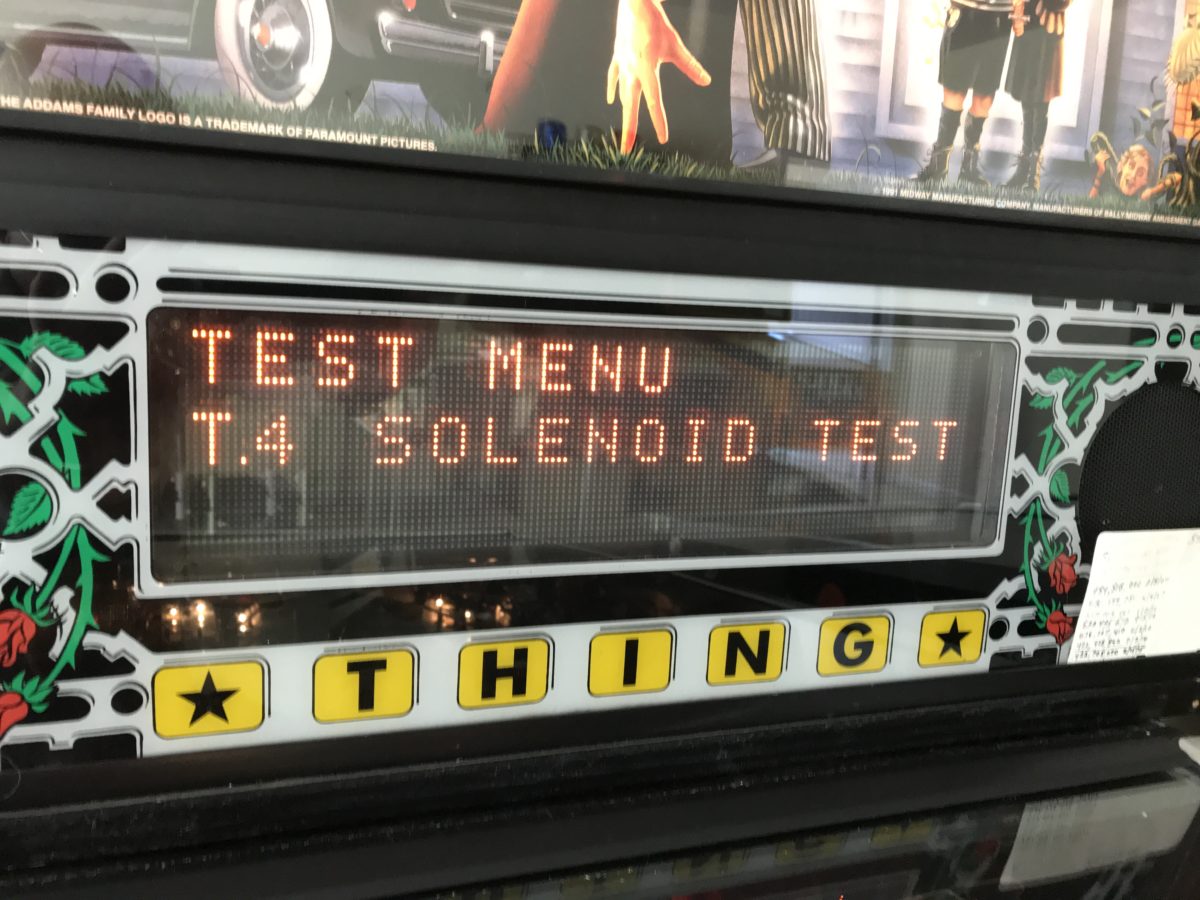
It is smart to download the manual from IPDB and be familiar with the tests and the solenoids. If there are parts that are difficult to follow, get the seller to demonstrate them to you.
Make certain that everything works properly. This is more easily done with newer (post 1990) than older machines as the computer will list the errors (unless the seller is smart enough to clear them first).

When visiting, make certain that the machine is turned off. Turn it on and listen. Newer machines (post 1990) will give an error by making a repeating sound when turning on. This may indicate a bad switch or something else. Have the owner go into the service menu. Any errors will show up when first entering the menu.
Some machines may display a ‘credit dot’ on the DMD display if there is an issue. That issue maybe minor, such as date and time is not set. Or it might be major. Take the time to investigate and clear the ‘dot’.
Have them perform the solenoid test (available on all SS pins) and insure that every solenoid listed in the manual fires.
Do the same with the flashers. Then the switched lamps. Replacing most lamps is easy. Some are covered by ramps or other mechanics and are not easy to get to. Run the lamp test with the playfield down, and then lift the playfield and repeat.
GI (general illumination) lamps are on all the time. Visually inspect under the playfield plastics and look for ones not working.
Have the owner remove the playfield glass and go into a switch test (read this in the manual) and then use your fingers and push as many of the switches as you can and make certain that the game responds. For all SS games (except early Bally & Stern), there is a table of the switch matrix in the manual. If an entire row or column does not work, that could be a sign of a circuit board or wiring problem. If an individual switch does not work, it may need adjusting, cleaning or replacement – or a wiring/diode issue.
If optos (optical switches) are present, be sure to pay careful attention to these. In Williams pins, they are a bit odd. Mechanical switches show up on the menu as an “X” when something is on the switch (closed). Optos are the opposite. They show up as an “X” when nothing is blocking the light. DE/Sega/Stern optos test like mechanical switches and show up as closed (“X”) when blocked. If optos are used in the ball trough (holds the pinballs for the shooter), it will be necessary to remove them to test the optos, then reload the balls.

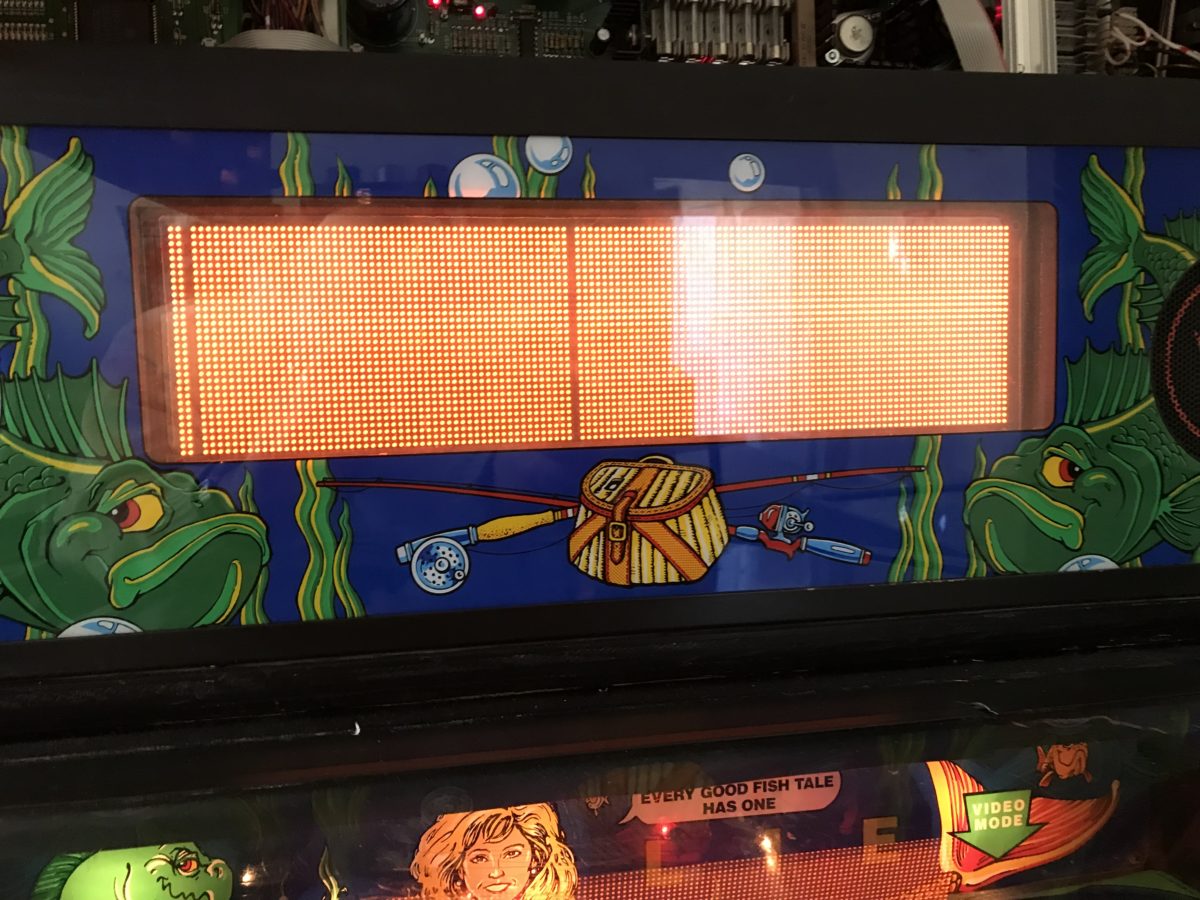
Next, test the displays. For pre-DMD pins, the display test will have each display go through the numbers from 0-9 for each position. Make certain that the displays do not miss a portion of the number (segment) and that each display shines brightly.
Non-DMD displays were originally plasma. These burn and cannot be replaced. Getting a new set will involve long lasting LEDs. They are great but will set you back between $200 to $400 dollars.
DMD displays were also plasma and are no longer available. They can be replaced with LED displays but will cost a few hundred dollars. Have the owner run through the DMD test. Look for any missing rows or columns. Color DMD displays are available for the most popular games but will cost $400+.
SS machines have three prong wall electric plugs. It is important to have that third (ground) pin to prevent a shock hazard. The only way to test is to touch a voltmeter set to AC to metal on the machine and the other probe to ground (the center screw on wall plugs should be ground in newer houses).
EM (Electro Mechanical) Machines – Testing

For EM machines, the testing is a bit easier. Take off the playfield glass and start up a game. Use your finger and touch all the targets and insure they register. Take the ball and roll it into scoring holes and insure the solenoids work. Roll the ball over all of the switches.
While this is going on, watch the scores. Insure that the reels move smoothly and that the next reel register when the lower digit moves from a 9 to 0. It will be necessary to repeat this for each player.
Check to see that the ball in play advances each time the ball exits the playfield, and that the ball is setup to the shooter consistently. When the final ball is played, it must advance to game over.
Then restart the game and watch how smoothly everything resets. If a score reel gets stuck, that is a sign of trouble.
The Flippers
The part that wears out the most are the flippers and their switches. Ask the seller when they have been rebuilt last. If they do not know, expect to rebuild the flippers. That is not a simple procedure. If they seem powerful and both open and close the same, then you maybe able to put off rebuilding the flippers.
On many games, there is a mark on the playfield indicating the alignment of the flippers. If they are off that mark, or aligned differently, consider that the machine might be poorly maintained.
Rubber Rings
The rubber rings wear out. For simple games like EMs and early SS, replacing the rings usually involves removing a few playfield plastics. For newer games, it might involve removing ramps and other obstructions. Also check the shooter rubber.
Black rubber bands stay looking clean longer than white ones. But black rubber gets the playfield dirty sooner.
Open Up The Backbox

This is especially important for SS pins, but reasonable to do for EM’s too.
For EM’s look for any charring or burning. It is also good to watch the mechanics while the game is playing.

For SS, take a look at the circuit boards. Look for any work that looks like an idiot did it. Check to see the condition around and below the batteries. If there is a sign of battery leakage, either walk away, or investigate the cost of a replacement (if available).
Look for any signs of burned connectors or circuit boards. If any plugs are discolored, this will mean repair will be needed, sooner rather than later.
Buying Guideline PDFNow that you have read through the entire discussion, here is a Buying Guideline for you to take with you. For some browsers, right-click on the link and select download. It is designed for SS machines, but could be adapted to EM also. |
Making An Offer
This is the part that everyone dreads. Someone selling a pinball machine is almost never expecting to get their asking price. Some people advertise their price as ‘Firm’ and recoil at a lower offer. Not much to be done there, but they usually have problems selling.
This section is not intended to teach price negotiation. Decide what is a fair offer from the pricing guides and the condition of the machine, then offer less than you expect to pay and negotiate towards a compromise.
Unless this is a retail operation, the sale is ‘As Is‘ and the buyer should expect you to sign such a document. That means as soon as you pay for it, everything that goes wrong is your issue, not the seller. If it does not work when you get home, don’t expect the seller to help. Some will, but they are not obligated to.
Most buyers expect cash. Come prepared with $100 bills (or Euros, or….). If you plan to pay by check, PayPal, Money Order, or such, be sure to clear it before you make the trip to buy.
Are All Those Improvements Worth Anything?
Yes they are, but almost never what the seller paid for them plus labor. Some people install $300 worth of LEDs and expect the pinball machine to be worth $500 more. Generally, any improvements are never increase the value to what the seller has paid for those improvements. Good luck convincing them that.
Those machines will sit a long time before they are sold. When they are sold, either the seller has come down in price, or it was finally purchased by someone who paid too much.
Moving The Pinball Machine
You have reached the deal, cash is exchanged. Now it is time to move the pin. It always requires two strong people.
It may weigh 300 lbs (140 kg) or more.
Come prepared with some simple tools. The seller should have these tools, but some sellers are clueless. The tools should be:
- Socket wrenches. Usually English, but Metric may work.
- A hand truck would be nice.
- Allen wrenches are sometimes needed – especially on Data East, Sega or Stern games.
- Screwdrivers. Some machines use slotted, but also have Phillips. Large size screwdrivers.
- Moving straps. Ratcheting type.
- Cardboard – large pieces. Or moving blankets.
- A drill and drill bits. Required if the seller cannot find the keys. Bring this even if they say they have the keys. [We know this from experience!]
- An additional long length of cardboard can make it easier to slide the pinball machine in and out of the vehicle.
Optional:
Wrench to remove backbox & Legs – Usually socket wrenches work, but this specialty tool is very nice.

I have seen people transport a machine upright on legs in the back of a pickup truck with the backbox up. They are idiots.
Pinball machines with legs on and the backbox up are top heavy. They flip and fall. The backbox is attached to the cabinet and is not intended to take the stress of starts, stops and turns. And leaving these parts exposed is asking for the backglass or playfield glass to be shattered. Just don’t do it.
If transported in an enclosed van, the legs could be left on, but generally it is not a good idea. If it is transported in a pickup truck, always take the legs off.
Some people move the machines to their vehicle with the legs on. Others tear them down in place, then move on a hand truck. Whatever works for you.
All machines either break down into these parts: backbox, cabinet and legs. Or the cabinet folds down as one part, plus legs. If the backbox can be disconnected from the cabinet – these are referred to as two part pinball machines.
Prior to starting always remove the pinballs. In a perfect world, you will install new ones when you get home.
Two Part Pinball Machines
If the pinball machine comes apart, be sure to protect the backglass – remember, you own it now. You will need to remove the backglass and SET IT SOMEPLACE IT WILL NOT GET BROKEN!
Remove the pinballs and any materials in the cabinet such as the coin box.
Unplug the connections and stuff them securely where the wires come from. The backbox is usually connected to the cabinet with four bolts or large screws. Remove them while the other person steadies the backbox.
Lift the backbox and lower it to the floor.
If the backglass has been removed, reinsert it into the backbox and lock it in place. It is safer there. If the lock to the backbox is broken or missing, the glass could come out during shipping. Make sure it is secure or remove the backglass and store it during transit.
Be sure to stuff the power cord inside the cabinet. Make a mental note to pull that power cord back out before reassembling the backbox at home.

Now remove the legs on the cabinet. Move both pieces & the legs into your vehicle. Face the backbox against the side of the big cabinet – the backglass is recessed and protected. If you want, insert a piece of cardboard in front of the backbox. Using the moving strap, send it all the way around the cabinet and backbox to hold the two pieces tightly together.
One Part Machines

Newer machines (from ~1985) are too complicated to separate, so the backbox folds down on top of the cabinet.
Remove the pinballs. On some games, it maybe easier to power it up to remove the pinballs.
Remove any materials in the cabinet including the coin box.
Lay down cardboard or protective thick cloth on top of the playfield glass. The top edge of the backbox will dent the metal side rails, if not protected.
Remove the backglass / translite and SET IT SOMEPLACE IT WILL NOT GET BROKEN! Have one person hold the backbox. Remove the two or four bolts that hold the cabinet in place. Some games will have a weak latch in back that also needs to be opened. Some DE/Sega/Stern machines have a great feature where the backbox is connected to the cabinet via a latch that is disconnected with a simple large Allen wrench.

Put the backglass back inside the backbox, but only if the backbox locks. If the backbox does not lock, remove both the backglass / translite and the display and store those separately. If the backbox is folded down with the backbox glass not locked, it will fall out during transit and could break.
With the cabinet protected, carefully fold down the backbox onto the cabinet and strap it in place. The strap should be secure, but not so tight that the backbox crushes the cabinet. Either unplug the power cord from the cabinet (if designed), or stuff it into the cabinet as far as it will go.

Remove the legs and lower to the ground. The pinball machine can now be tilted up on the larger portion of the cabinet (not the shooter end). The shooter end is up. This is perfect for moving with a hand truck and sliding into the back of an enclosed vehicle.
When sliding into a vehicle, the shooter end goes in first. This makes it much easier when unloading. When unloading, this end can slide to the ground, stood up on its end and then be hand trucked inside.
Location and Reassembly
Your pinball machine will consume 4A at 115 VAC (or 2A 220 VAC). Most are fused for 8A 115 (4A 220). Having proper ground is a must. Generally, it should not be on the same circuit as a motor that turns on and off, like a refrigerator or an window air conditioner.
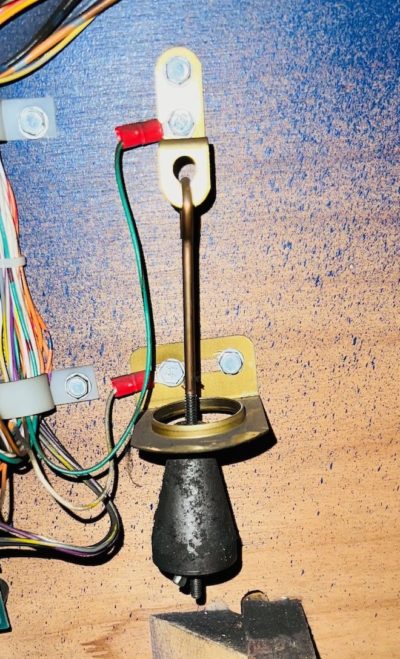
The floor should be fairly level. There are leveling feet that are hopefully not too rusty. There are apps on phones to help for leveling. My favorite is ‘PinGuy’ available on iOS, or any bubble level app. Side to side is most important. Newer games often have a front to back level built in. Set it as specified in the manual. Older ones can be set to your preference. There is a tilt mechanism which is a pendulum located inside the coin door to the left. Make certain when it is setup that this level is not close to tilting. Either move the ring around the pendulum by loosening the screws that hold it, or change the angle of the machine.
If attaching the backbox, be sure to pull out the power cord first. Set the cables inside the cabinet so you can reach through the darned hole and fish them up. For folded down pins, this should not be an issue.
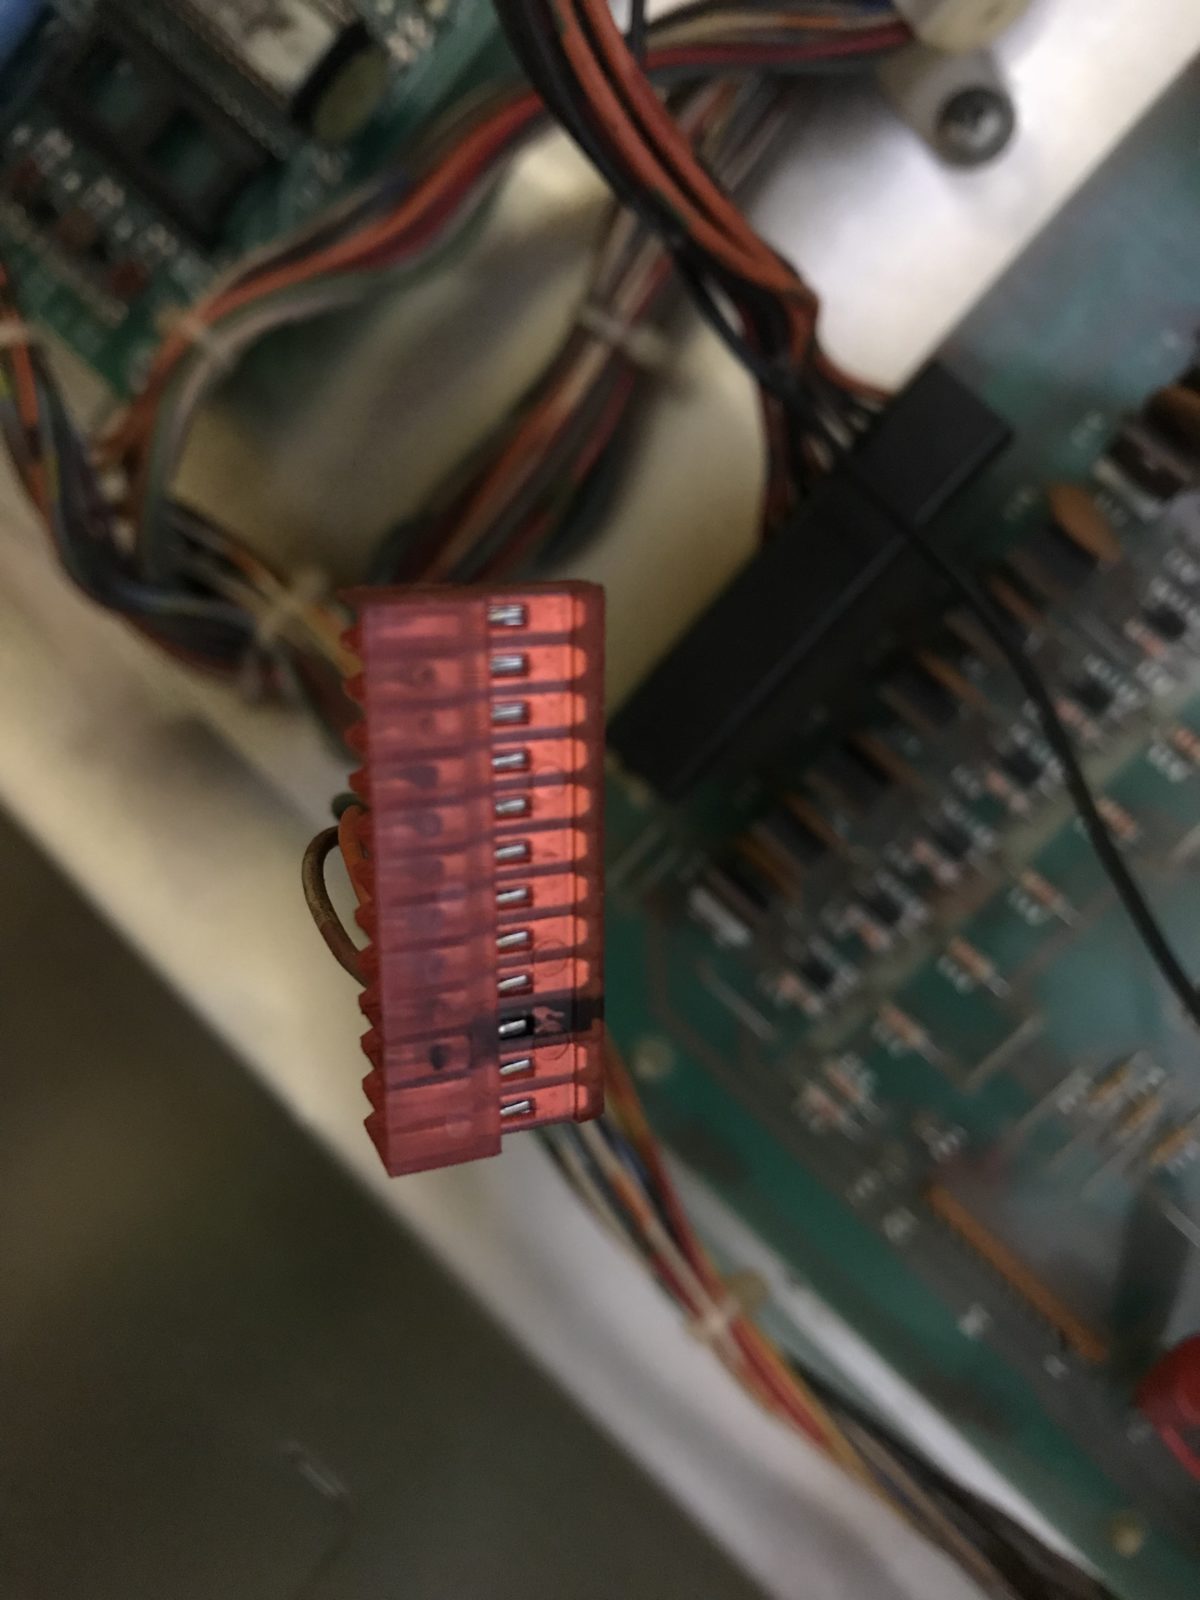
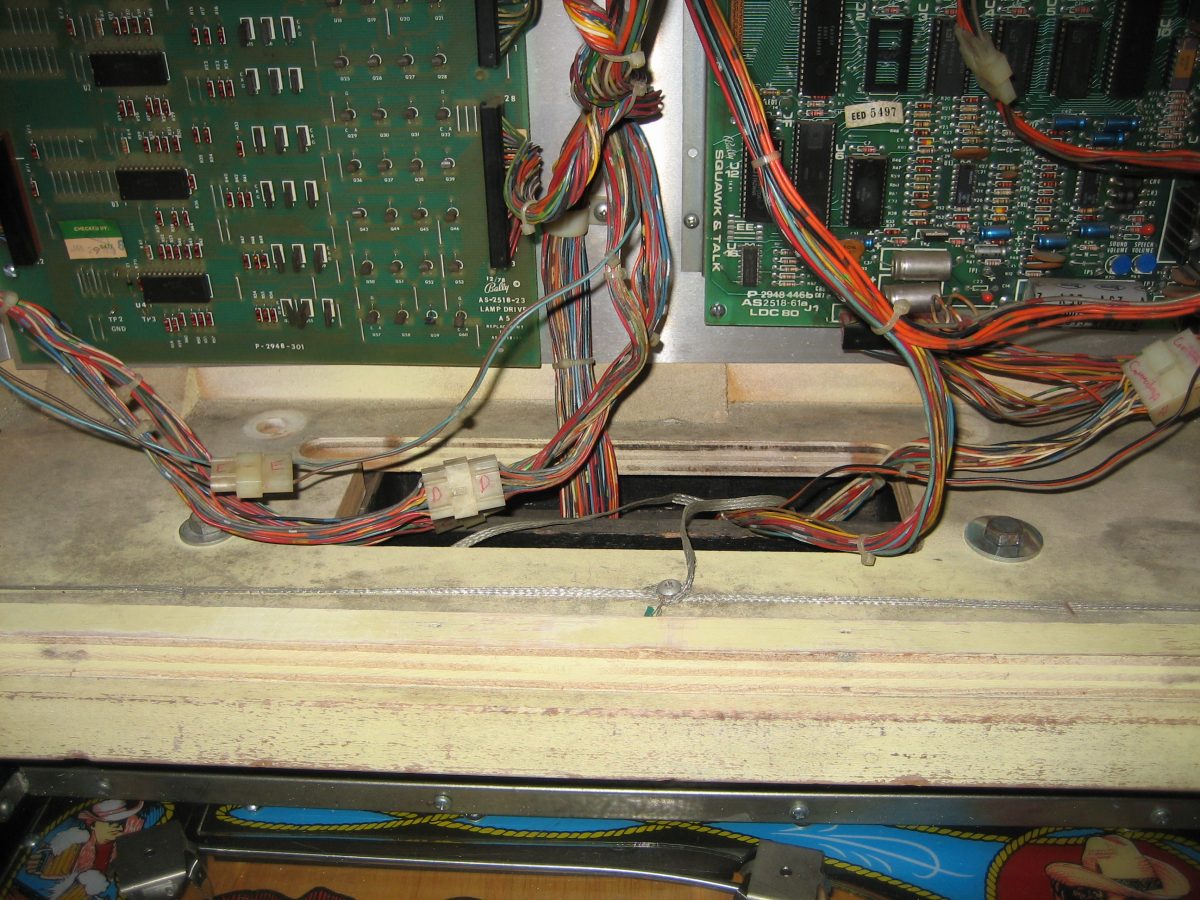
Any disconnected plugs should be keyed so that they can only fit in one place on the circuit boards. Two piece machines generally only have four to eight plugs to install.
Note: A few wire to wire plugs, like those in early Williams System 3 – 7 pinball machines, as well as Bally machines with Aux Lamp Boards can be plugged in wrong with catastrophic results. When plugging wired plugs back together, compare the color wires on each plug. If they are not the same, stop and look for the match. If one plug is black and the other white, do not plug those together. Note that sometimes the plugs have been replaced and black vs. white colors might no longer apply. In that case, resort to making sure the wire colors match.
Ribbon cables can be especially difficult to get right. It is easy to be off by an entire column. And if the ribbon cable is not original – meaning it is too big, it is easy to be off by a row. Some cables can be put in backwards. Always put the ribbon cable with the red line on the #1 pin. And be absolutely certain that all pins are plugged in by the cable. Do not bend any pins.
Slide down the playfield glass and install (hopefully new) pinball(s). Plug it in and turn it on and listen carefully. If you hear a solenoid lock on and stay on turn it off before you burn up the coils. You might have a problem and need help. But most of the time, it is time to play away.
Copyright 2006 – 2023, all rights reserved.
Comments
We are always looking for comments, including suggestions, improvements, errors, etc. for this page (see below). We are certain we have not thought of everything and there maybe mistakes.
If you have a specific question about your game that does not directly apply to buying a pinball machine, please see our FAQ section.
regarding the connections should be keyed. gottlieb system 1 power cables are not and can be connected upside down and will take out the game. when dissaasembling I always take close up pictures of conections I have to disconnect to get wiring colors right and some of the connectors have been replaced by hacked connectors that fit but are not correct for game with pieces hanging over
Excellent suggestion, Robert. Thank you.
We recently ran into a Bally pin where a previous person replaced the plugs and did a nice job. But we didn’t notice that the person did not put in a key into the plugs. That caused issues when we put it back together.
forgot wrenches or socket wrenches to get legs off
Thanks for the reminder. We do have socket wrenches on the list and they should work for the legs. But they maybe difficult to get into the backbox underneath the circuit boards, so a wrench might be better.
We love those box wrench ratchets for removing the legs. Everyone of us has those in our tool kits.
https://www.pinballlife.com/pinwrench-leg-bolt-and-backbox-wrench.html
is a printed version of this total info available? Thank you
There is a link to a PDF to take with you when you go shopping. It is a checklist. https://homepinballrepair.com/buyingguidelines.pdf
We hope that will help you.
But as to the entire page, no. I would suggest printing it, if that is what you want.
I look inside the back box and lift the play field looking for indication of overheat / overcurrent (discolored connectors, solenoid paper wrap, and wiring).
In a suggestions on how to ship one of these across country via a shipper? What shipping companies typically would take care of this and how should it be boxed up?
An excellent question and we don’t have a complete answer for you.
As to preparing for shipping, we suggest packaging it as shown in the section on this page titled “Moving The Pinball Machine”. Be sure to remove the pinball(s) and any loose pieces in the bottom of the cabinet.
If the machine backbox folds down, place protection (a heavy towel, cardboard, packing corners, etc.) where the backbox will sit on the cabinet after insuring that the translite is locked. Then, using shipping tie downs that ratchet, tighten the backbox snugly (but not too tight) to the cabinet. Then remove the legs.
In that same section, there are instructions as how to disassemble two part machines. We then strap the backbox to the top of the cabinet with the backglass against the bottom with protection (typically heavy cardboard) in between the two parts.
We then stretch wrap everything. And then wrap a moving quilt and secure it in place.
In a perfect world you could find a pallet and attach it to the pallet.
All of this does not make us feel comfortable.
We once shipped a pinball machine from the east coast to the buyer on the west coast. The buyer arranged for packaging and shipping. We were upset that they left the game on the legs, but the buyer said that was how he did it. The movers then secured the entire pinball machine to the wall in the truck. That looked OK.
A few years ago, there was a company (NAVL) that had a salesperson who specialized in shipping games. That person left the company.
If you are lucky, you may find someone (Pinside or Facebook) who is running a route to move their own games in a truck and is looking for others to share the cost. Otherwise, we don’t currently have any suggestions.
We always transport our own games. Sometimes that means driving over several days and renting a truck. We don’t do that very often.